")


29
Jun, 2011
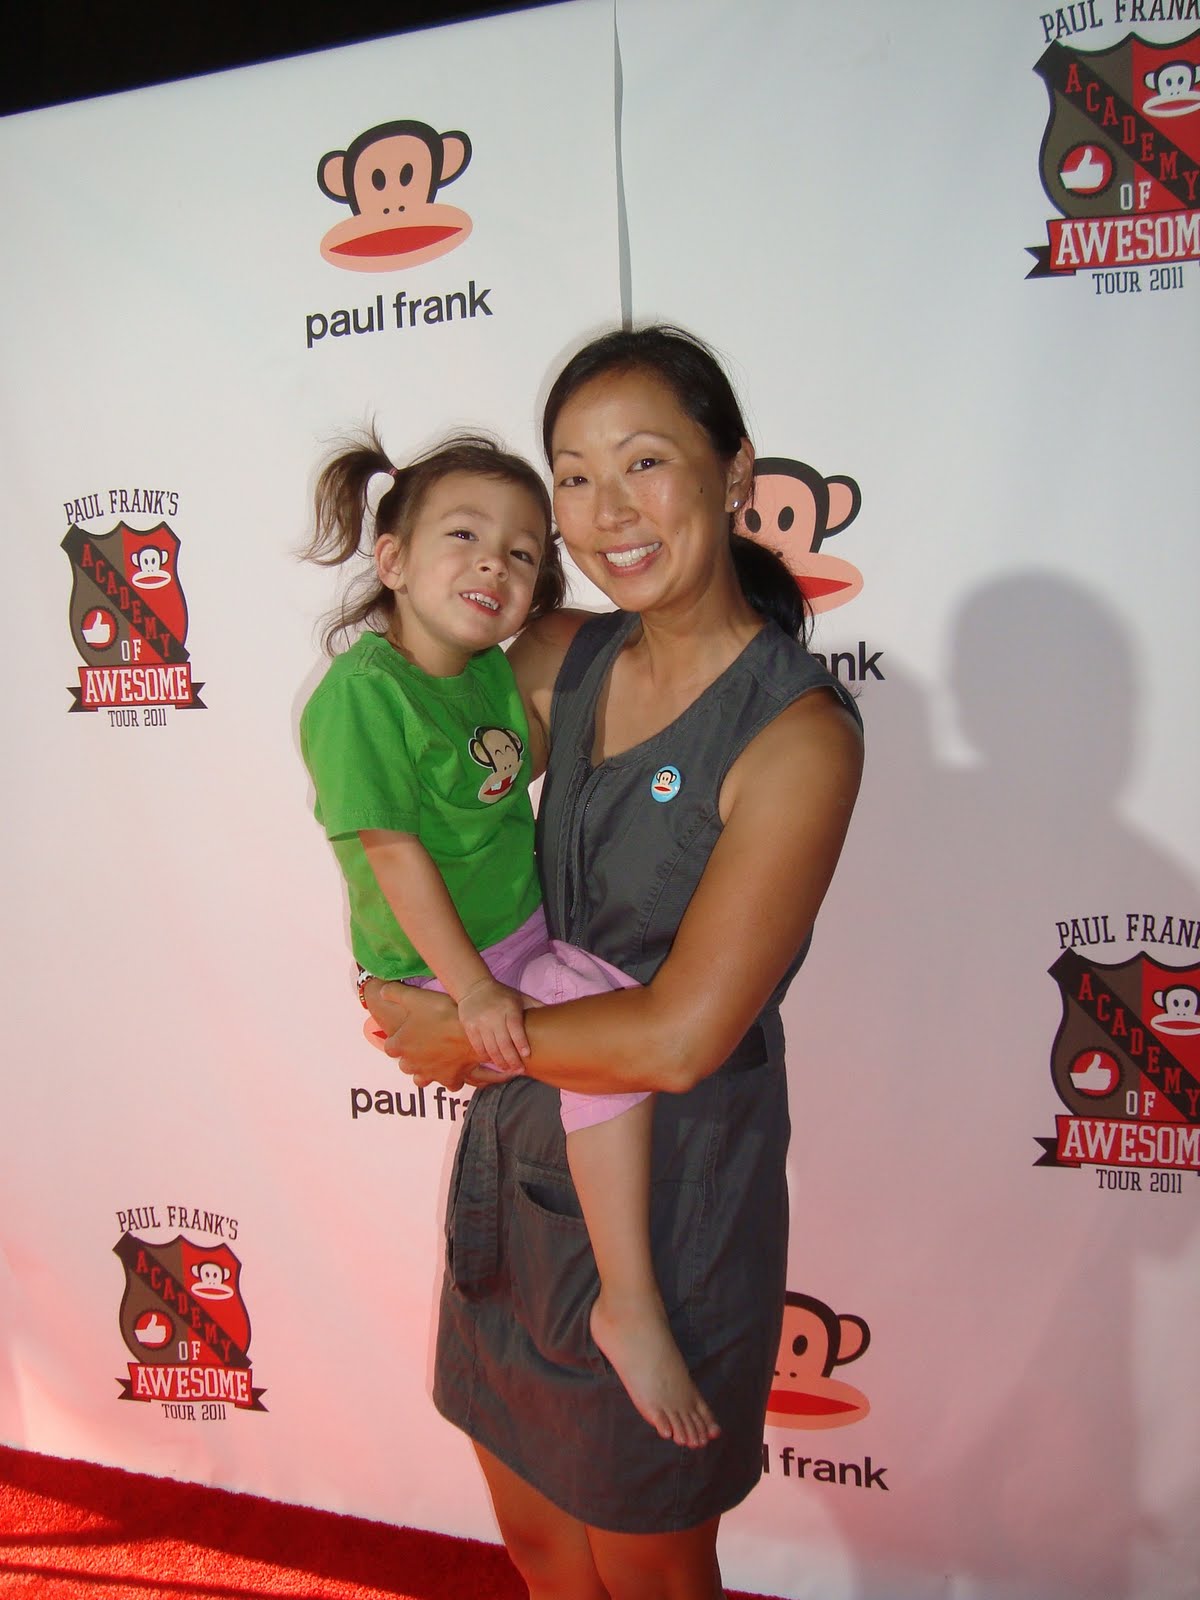
My super awesome daughter, Aubrey and my oh so awesome boyfriend, Lee and I got to attend the launch of Paul Frank’s Academy Of Awesome Tour 2011 last Saturday here in Los Angeles. The event was held at the uber hip Pacific Design Center and it really was AWESOME!
I have been a HUGE Paul Frank fan for years so it was a real treat to get to attend this event.
Activities and goodies for the evening included:
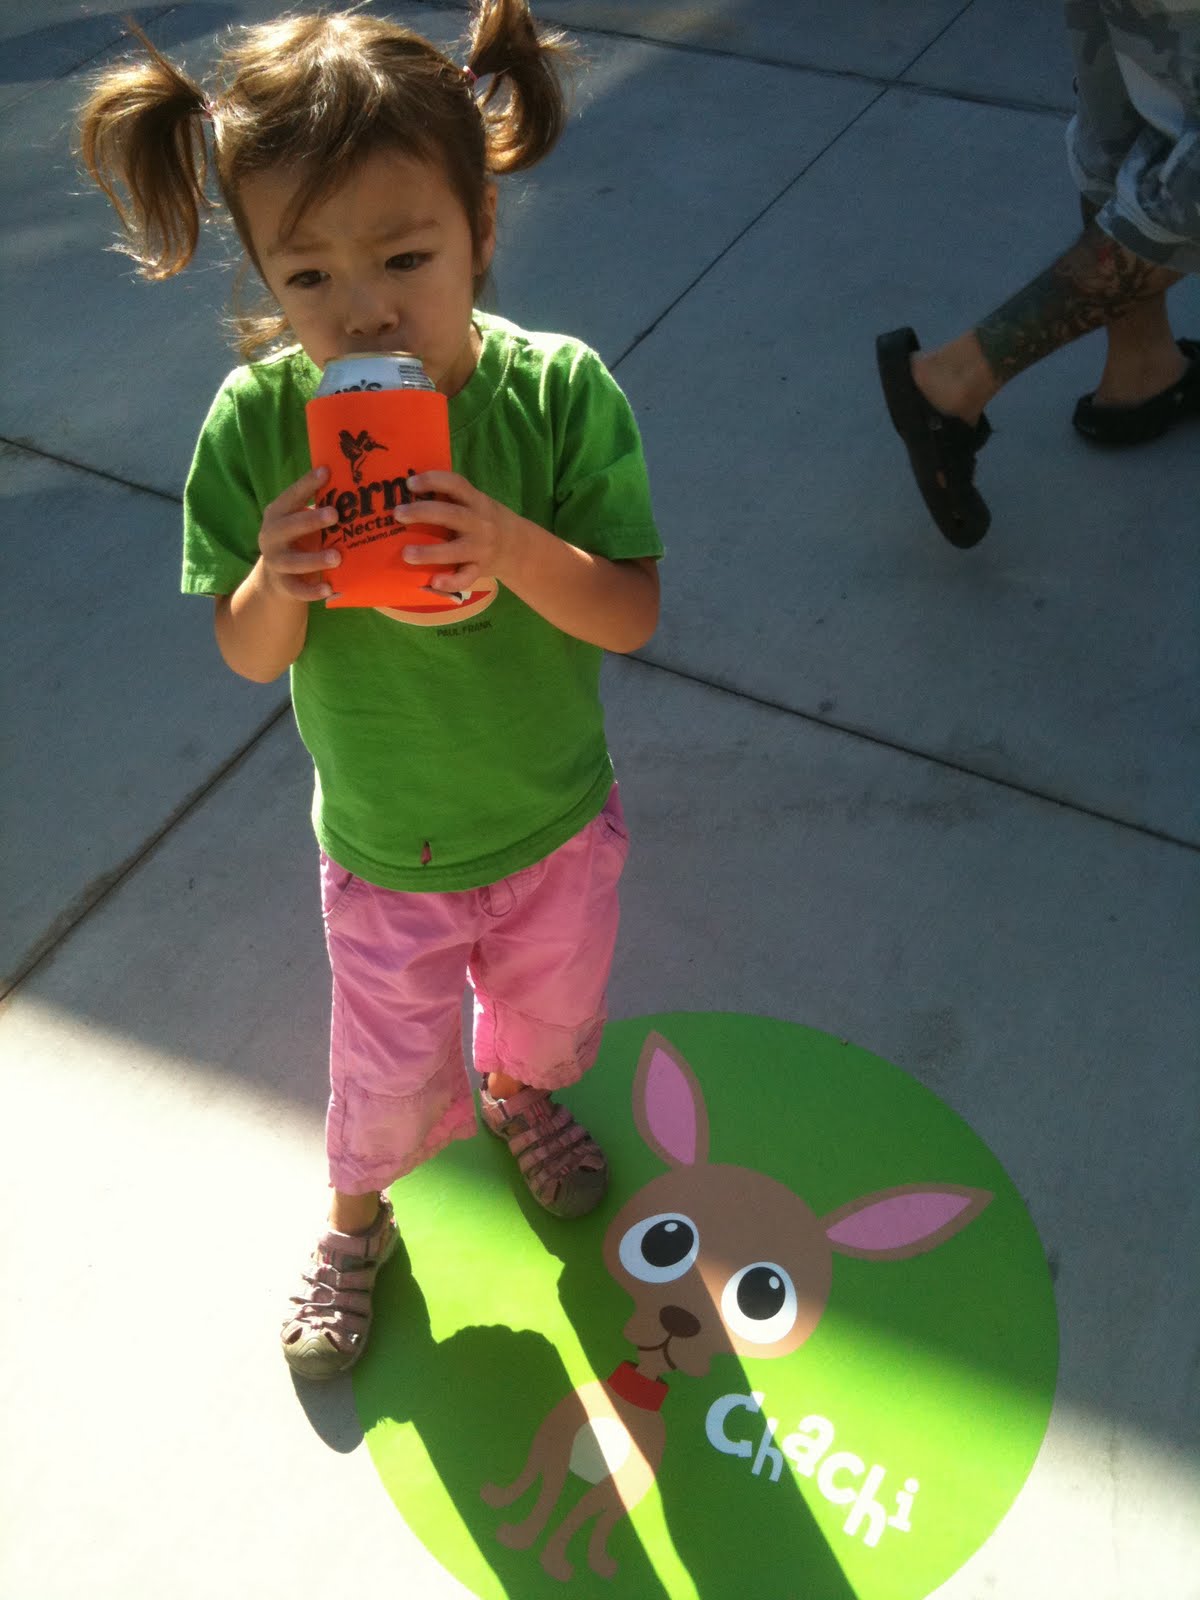 |
| Snacks from Pirate’s Booty & juice from Kern’s…YUM! Mango, Aubs’ fave! |
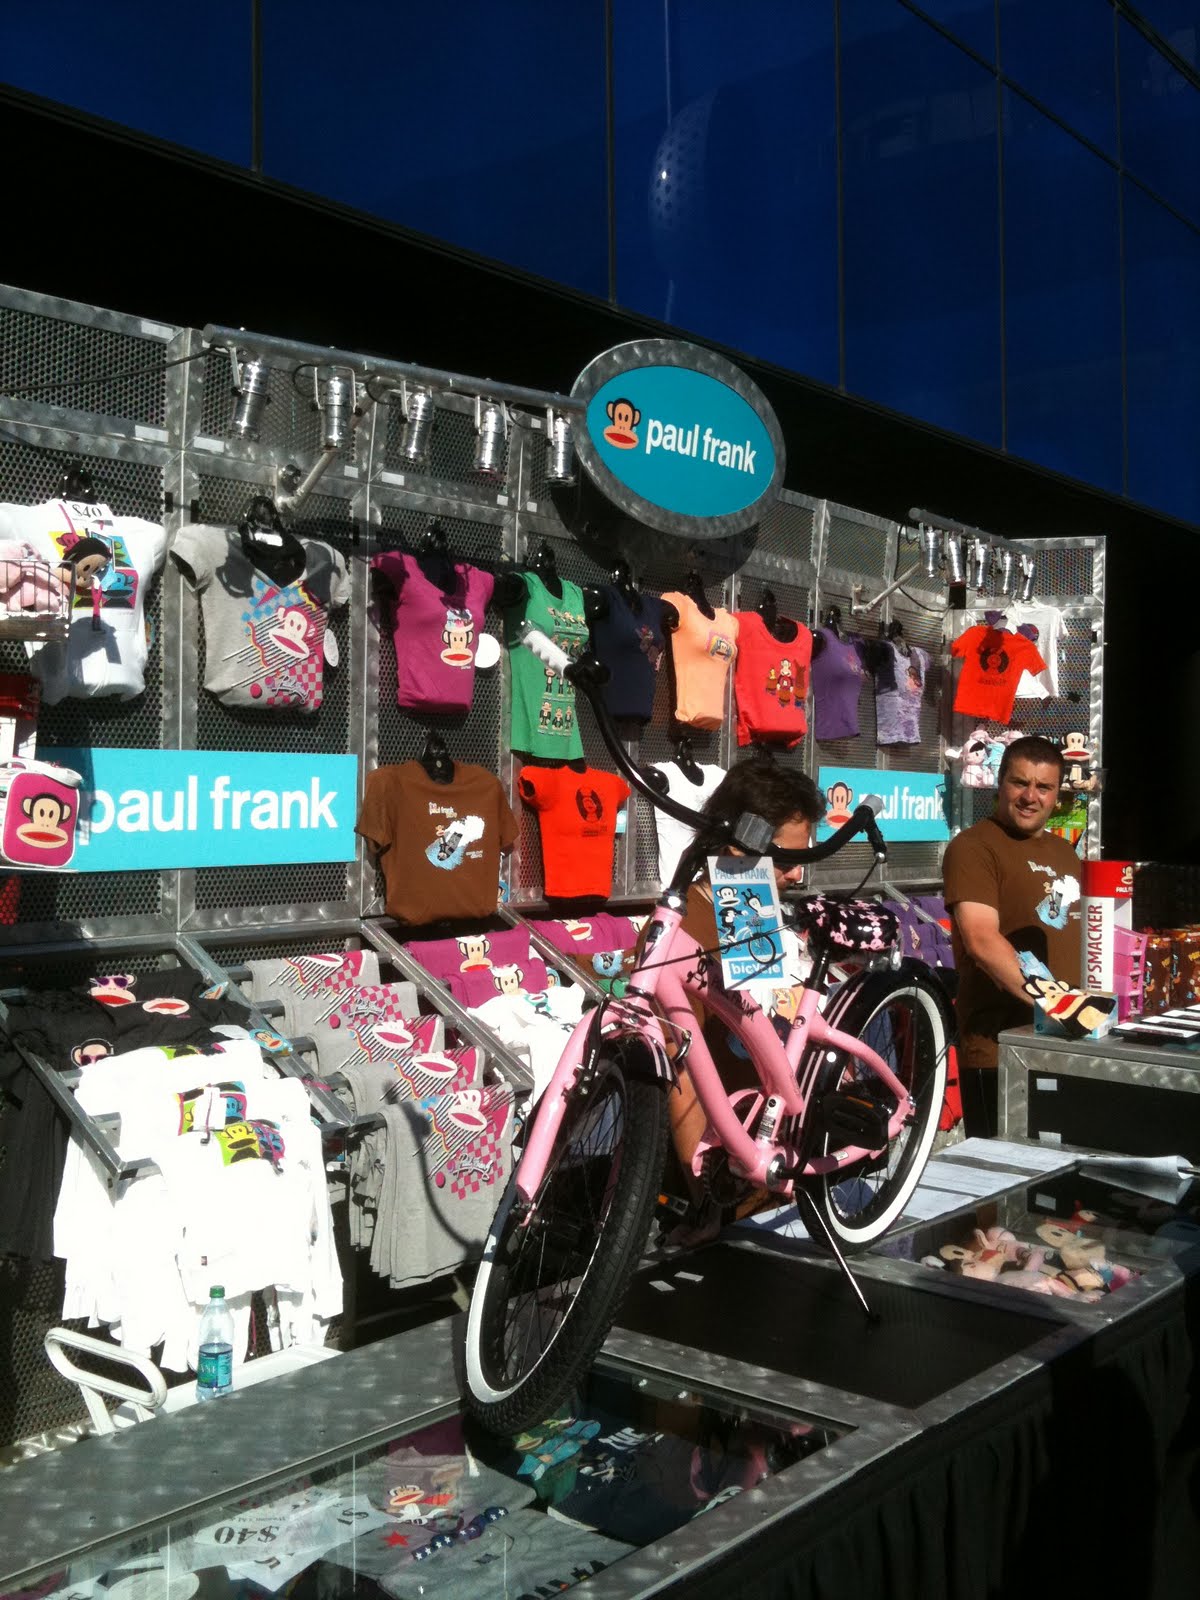 |
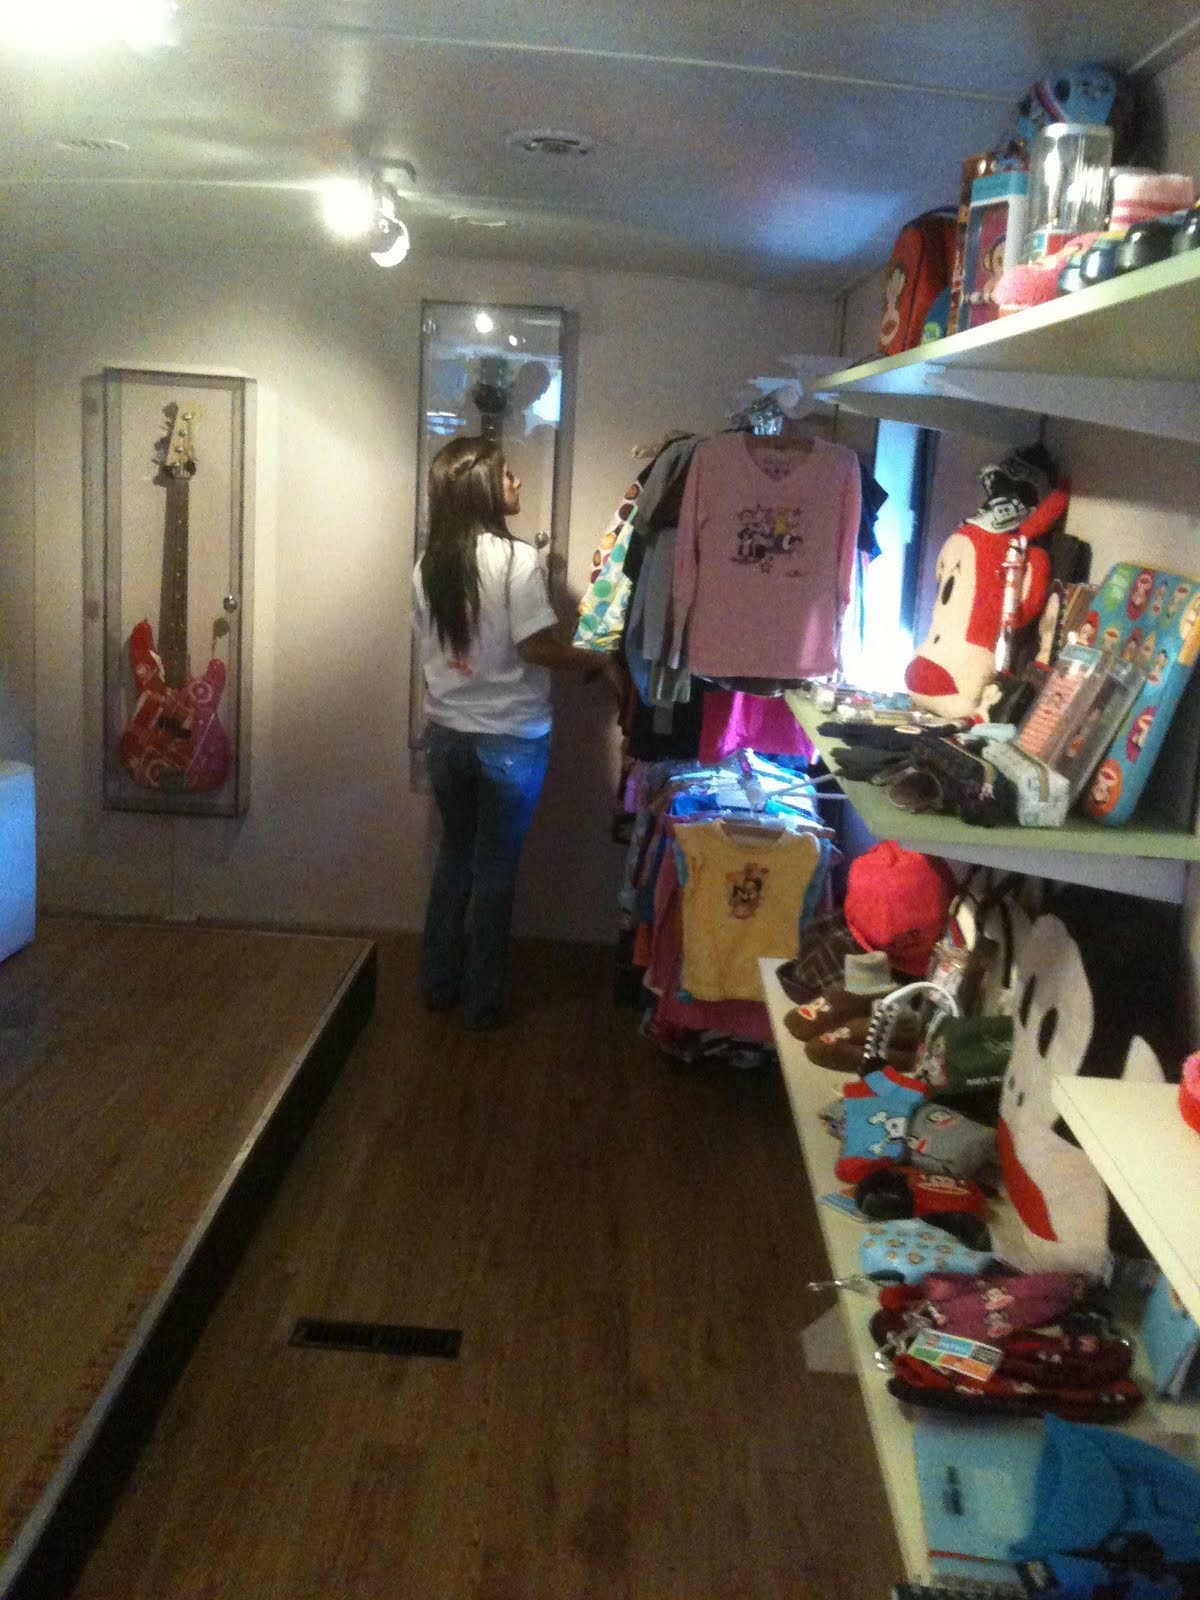
| Merchandise store – wish I had a zillion bucks |
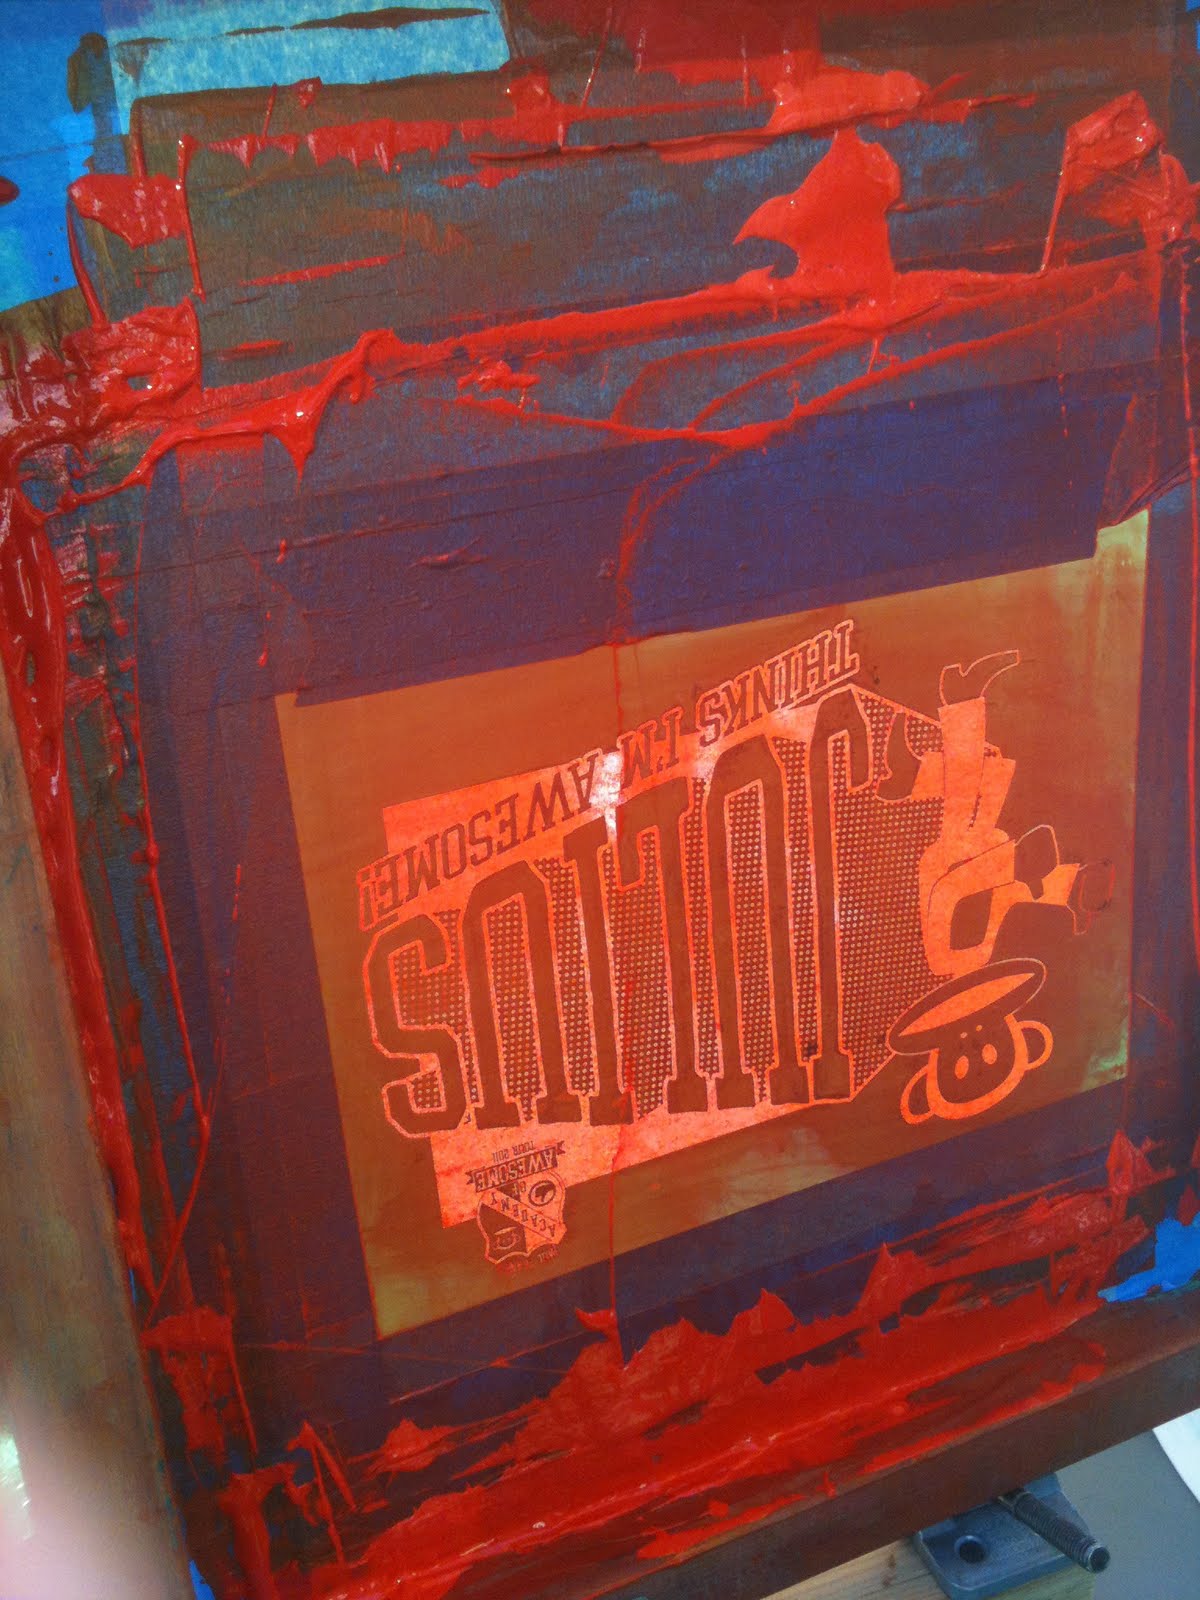 |
| Freshly silk screened tees & totes. Can’t wait to wear mine! |
 |
| The Academy Of Awesome Winnebago! Aubrey loved chillin inside. |
 |
| Scurvy ping pong |
 |
| Monster inflatable obstacle course & bouncy house! GO Aubrey & Caroline! |
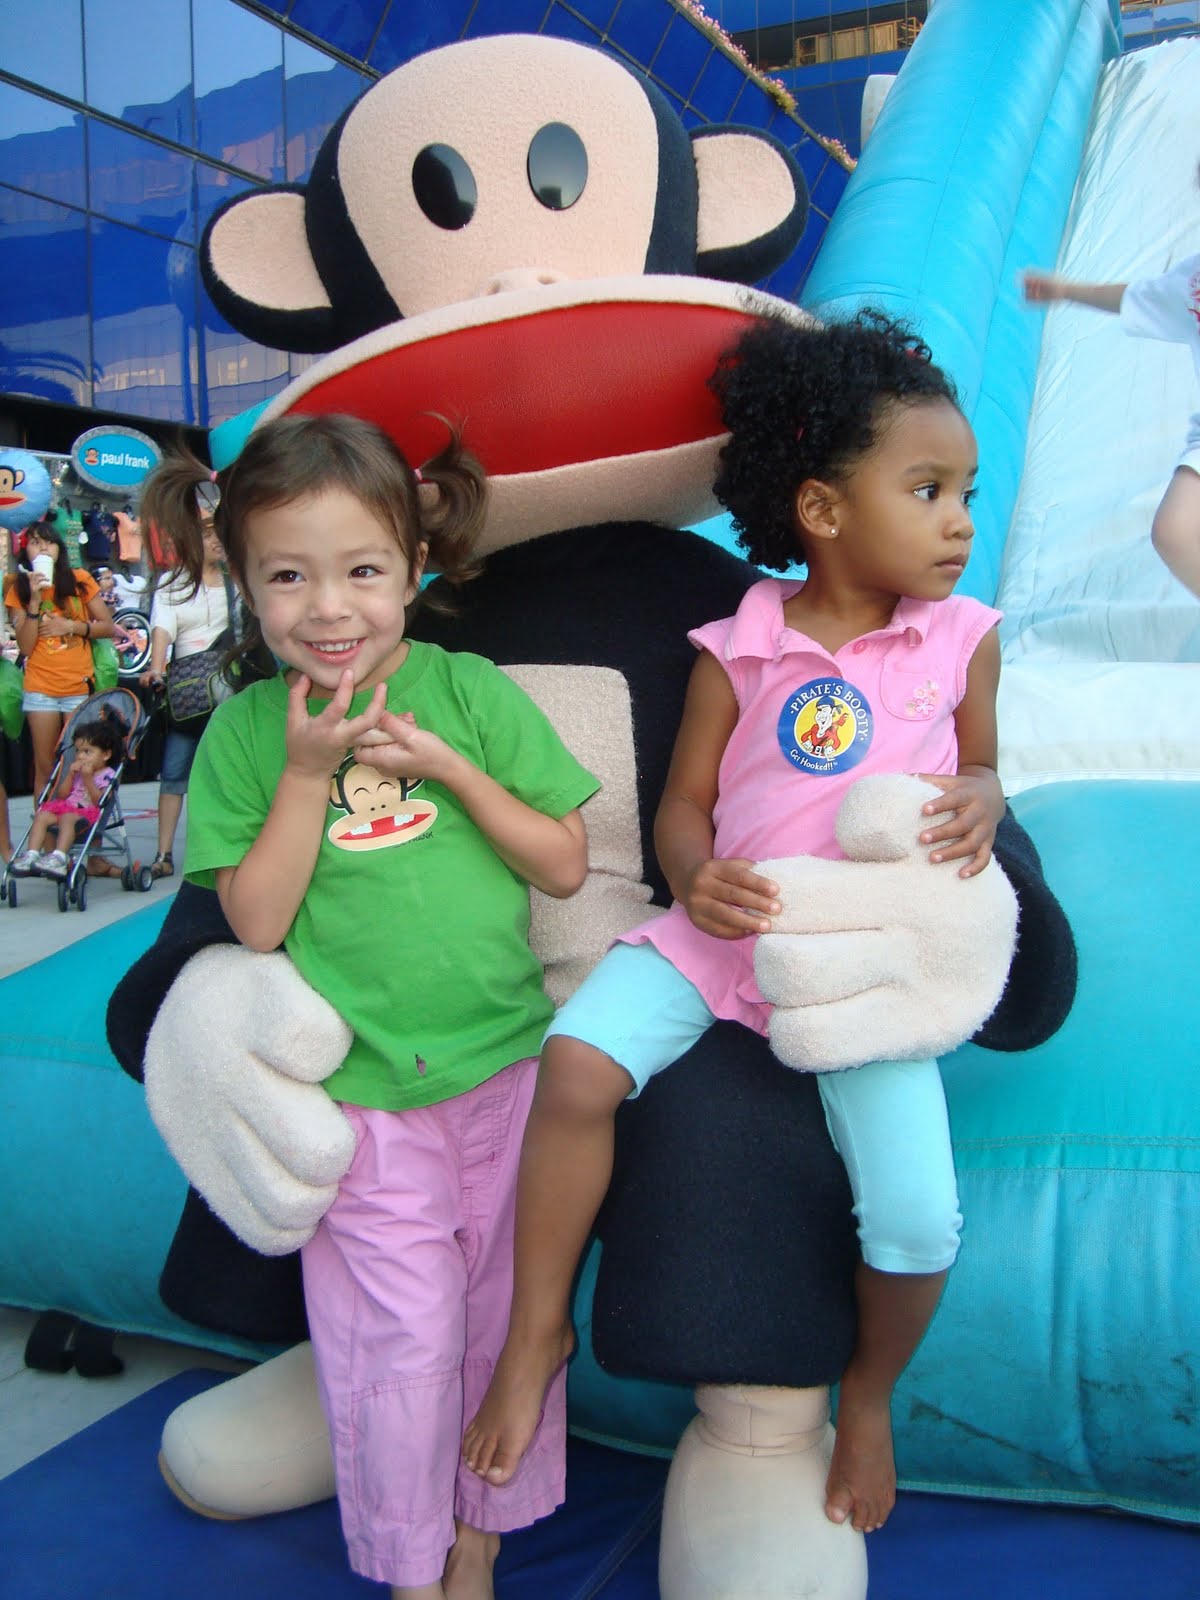 |
| And of course, pics with the monkey himself, Julius! Aubs with one of her BFFs, Isabella |
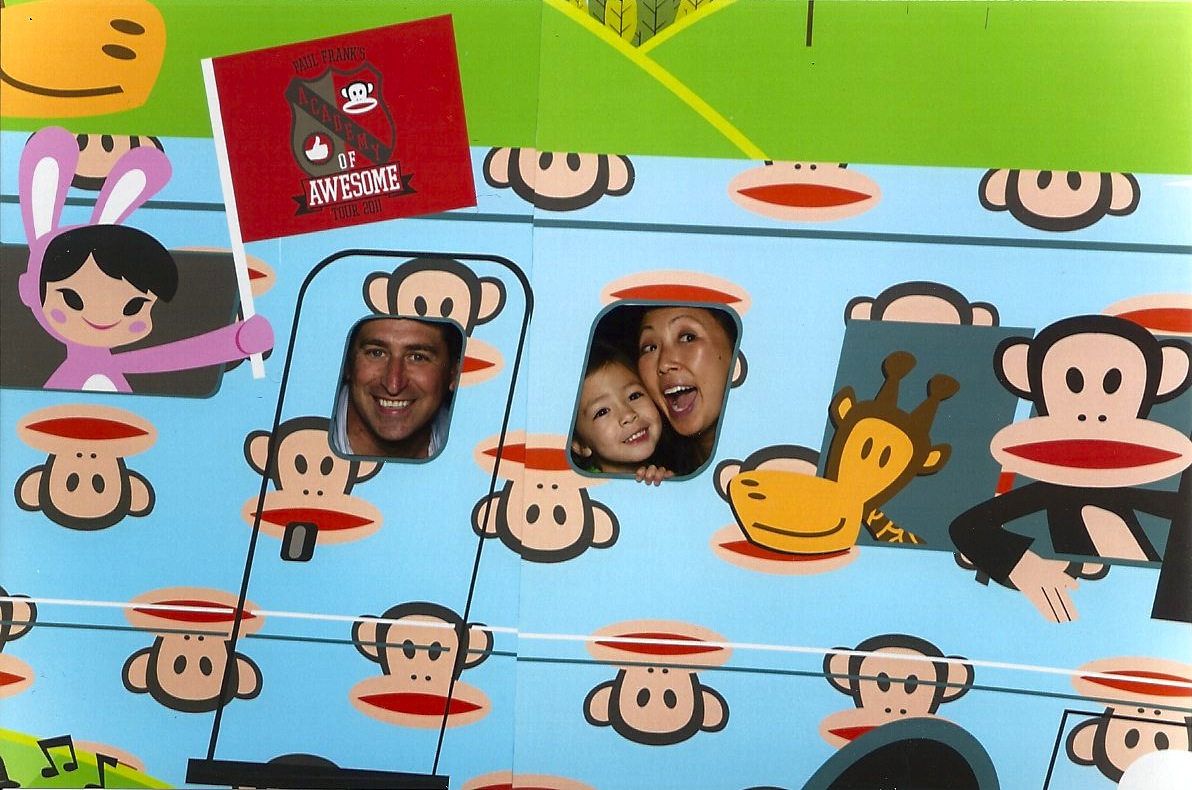 |
| Lee, Aubrey & I take a ride in the photo Winnebago |
 |
| Aubs acts like a monkey for the red carpet |
![]()
Tags: Academy Of Awesome Tour • Amy Anderson • Kalbi Truck • Kern’s • King Kone • Pacific Design Center • Paul Frank • Pirate’s Booty • Puppy Prom
20
Jun, 2011
I really enjoy baking. I wouldn’t say it’s a passion, but it is a lot of fun and it’s something I do well. Every year I take on the challenge of making a birthday cake for Aubrey. It’s my gift to her and I’ll do it for as long as she enjoys it. I know someday she’ll want me to just drop her off at the mall so she can eat a Hot Dog On A Stick for her birthday, so this is something I want to make special for her while it lasts.
Her first birthday was my choice, so I made her a monkey cake:

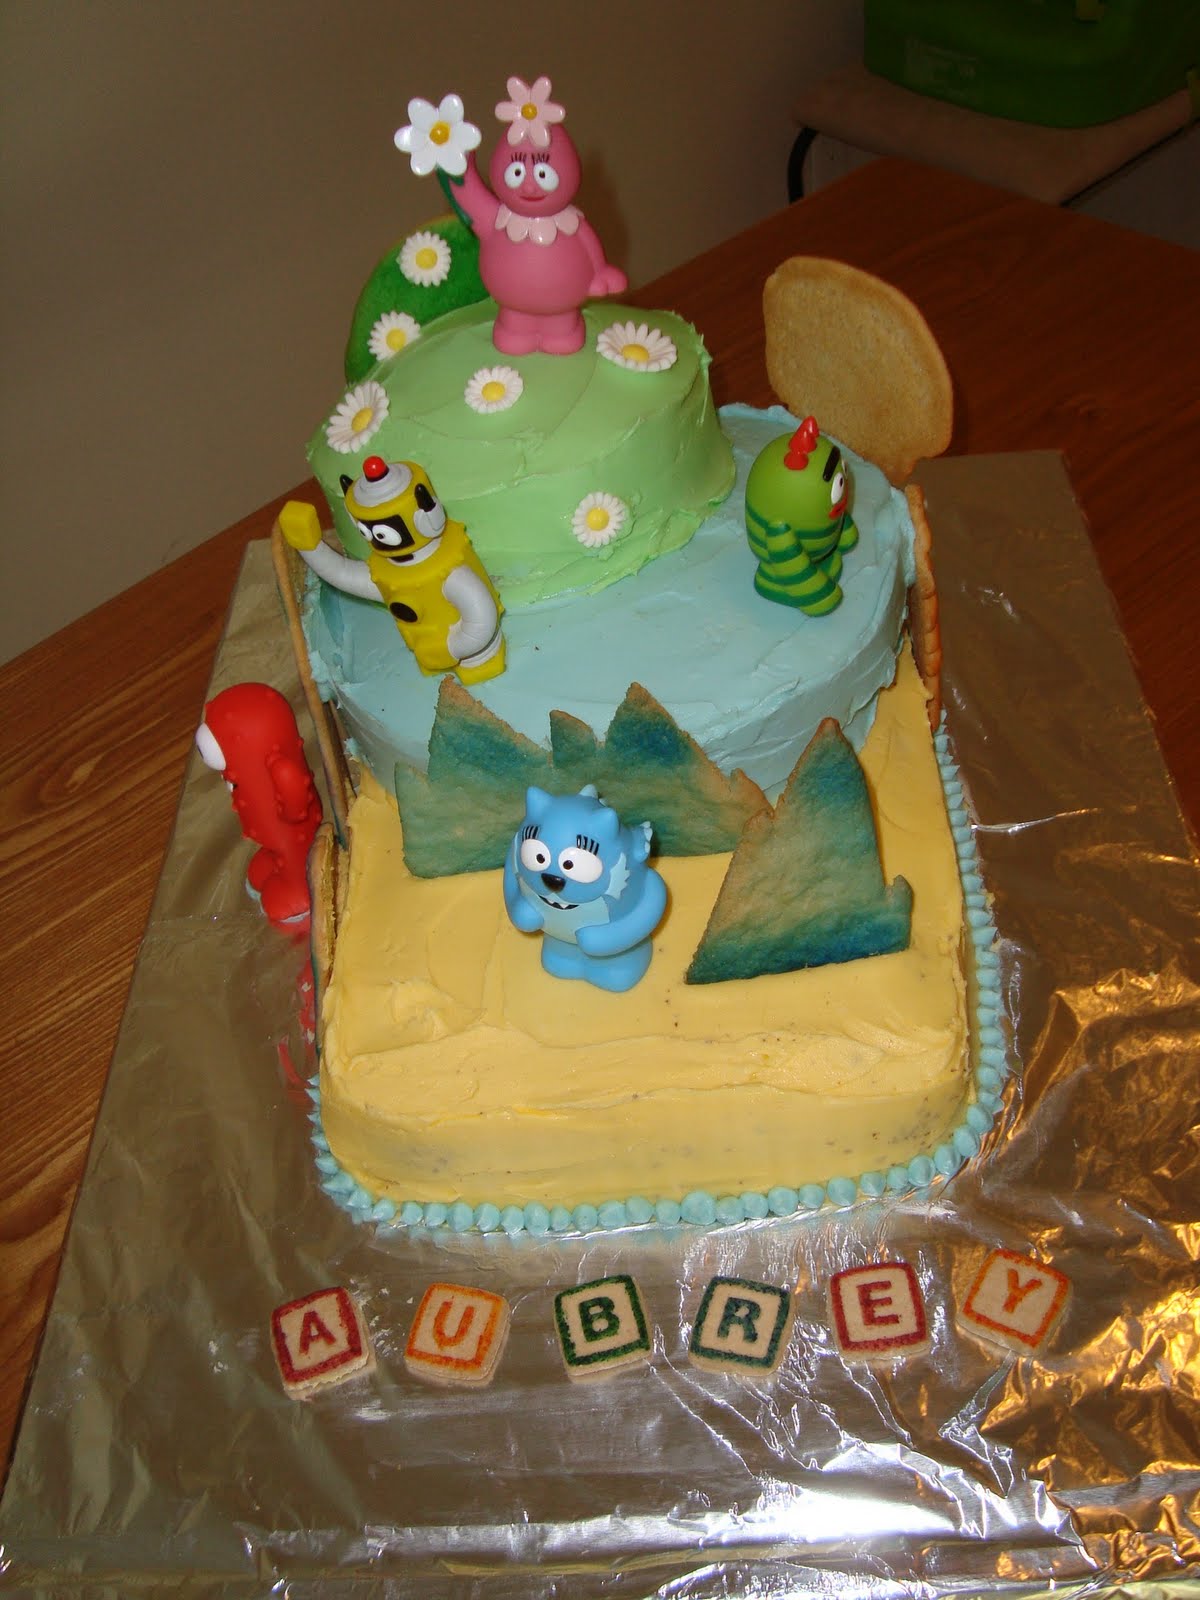
Her second birthday, she chose a Yo Gabba Gabba theme and I think the cake turned out adorable, if I don’t say so myself:

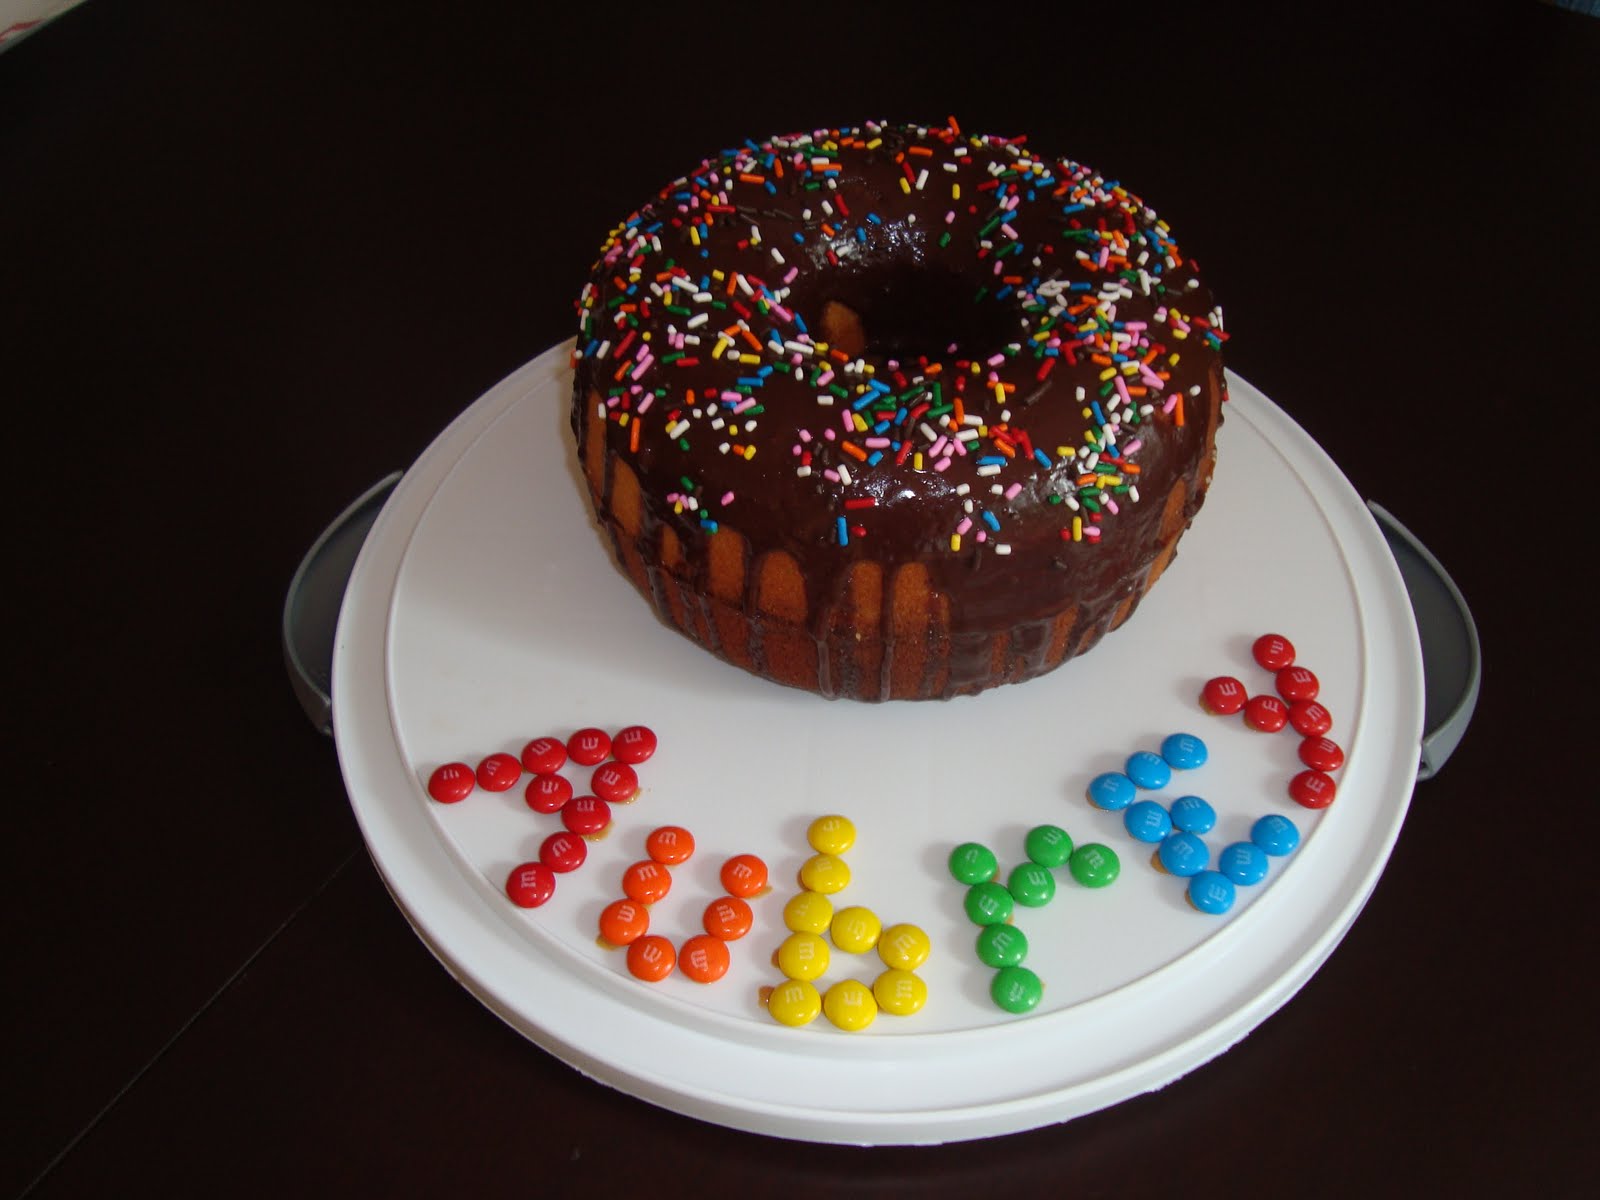
Last year, my mom sent me a Williams-Sonoma donut shaped cake pan as a just-for-fun gift and as soon as Aubrey say it, she wanted me to make it so we had a giant donut cake for her third birthday and made it a baker’s theme. She got her own baker’s hat and apron with her name on it too:

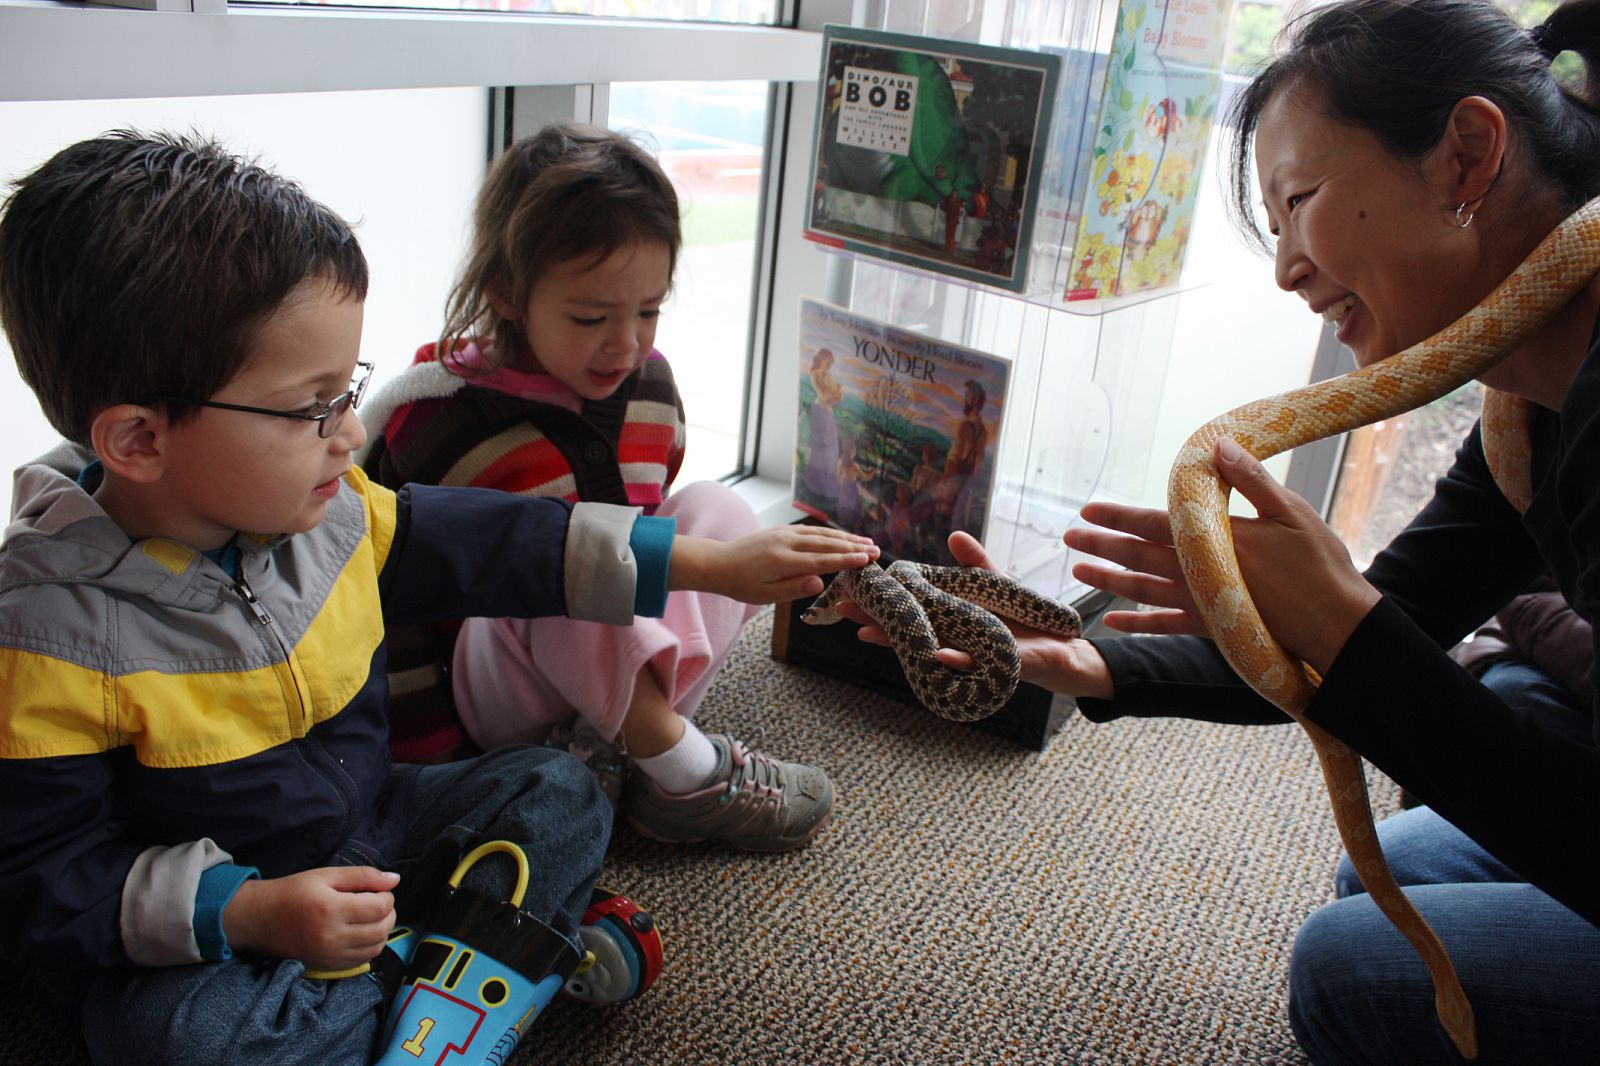
This year, a reptile guy came to Aubrey’s preschool and the kids got to touch snakes, lizards, toads and more. Aubrey was taught to be afraid of snakes by some other parent and nanny in her life (a-hem) and she freaked out a little when it was her turn to touch the snakes, even though I was the parent volunteer holding the snakes.
Needless to say, I was a little shocked when she told me she wanted a SNAKE CAKE for her birthday this year! One of the many ways Aubrey amazes me is that she takes on the daunting task of facing her fears head on – all on her own. No one taught this to her, she just does it. She forces herself to confront her fears until she desensitizes herself and even starts to enjoy the thing that scares her. She’s done it with hippos (yes, hippos), pirates and skeletons and now, snakes!
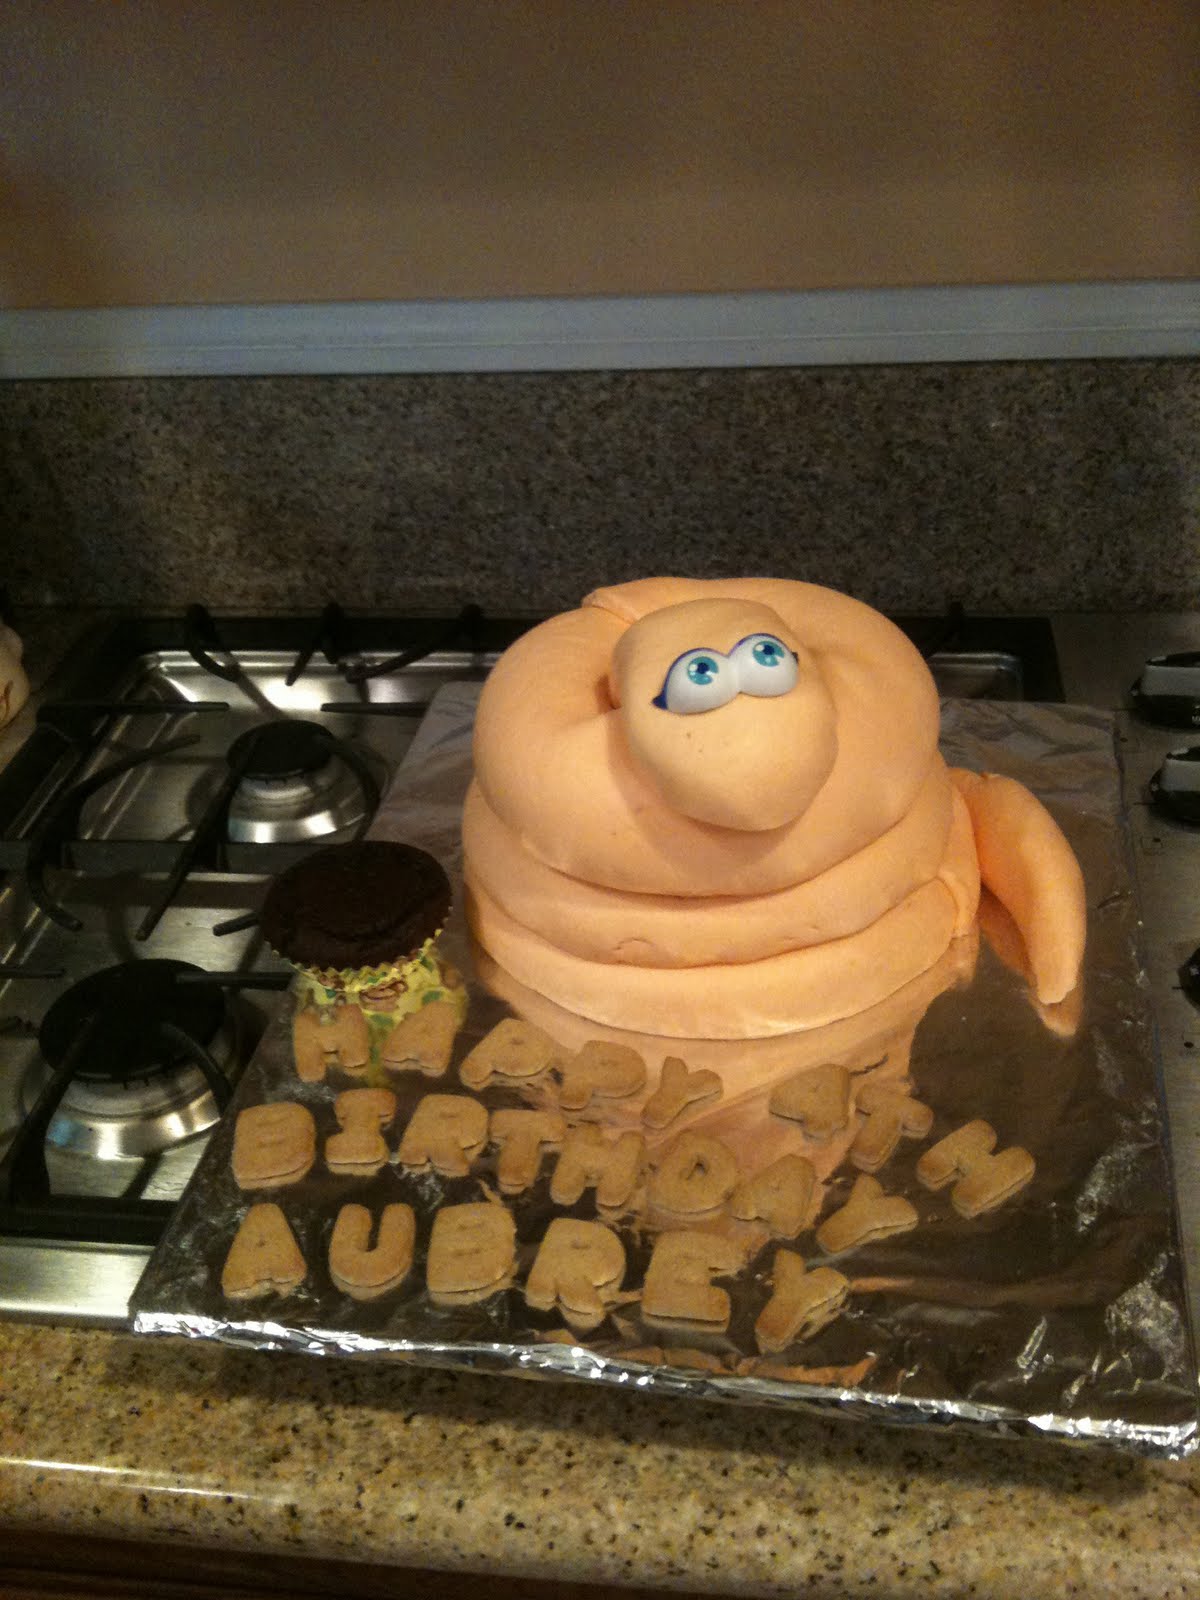
So a snake cake it was and I let her choose the color: “Orange with purple polka dots!”
The clock started ticking and I started planning the cake. I’ve decided to post the instructions and results here because after I finished it, everyone asked me HOW I made it. I admit that I stole the basic construction concept from some ideas I found online, but the rest is original and she was a real hit at Aubrey’s party!
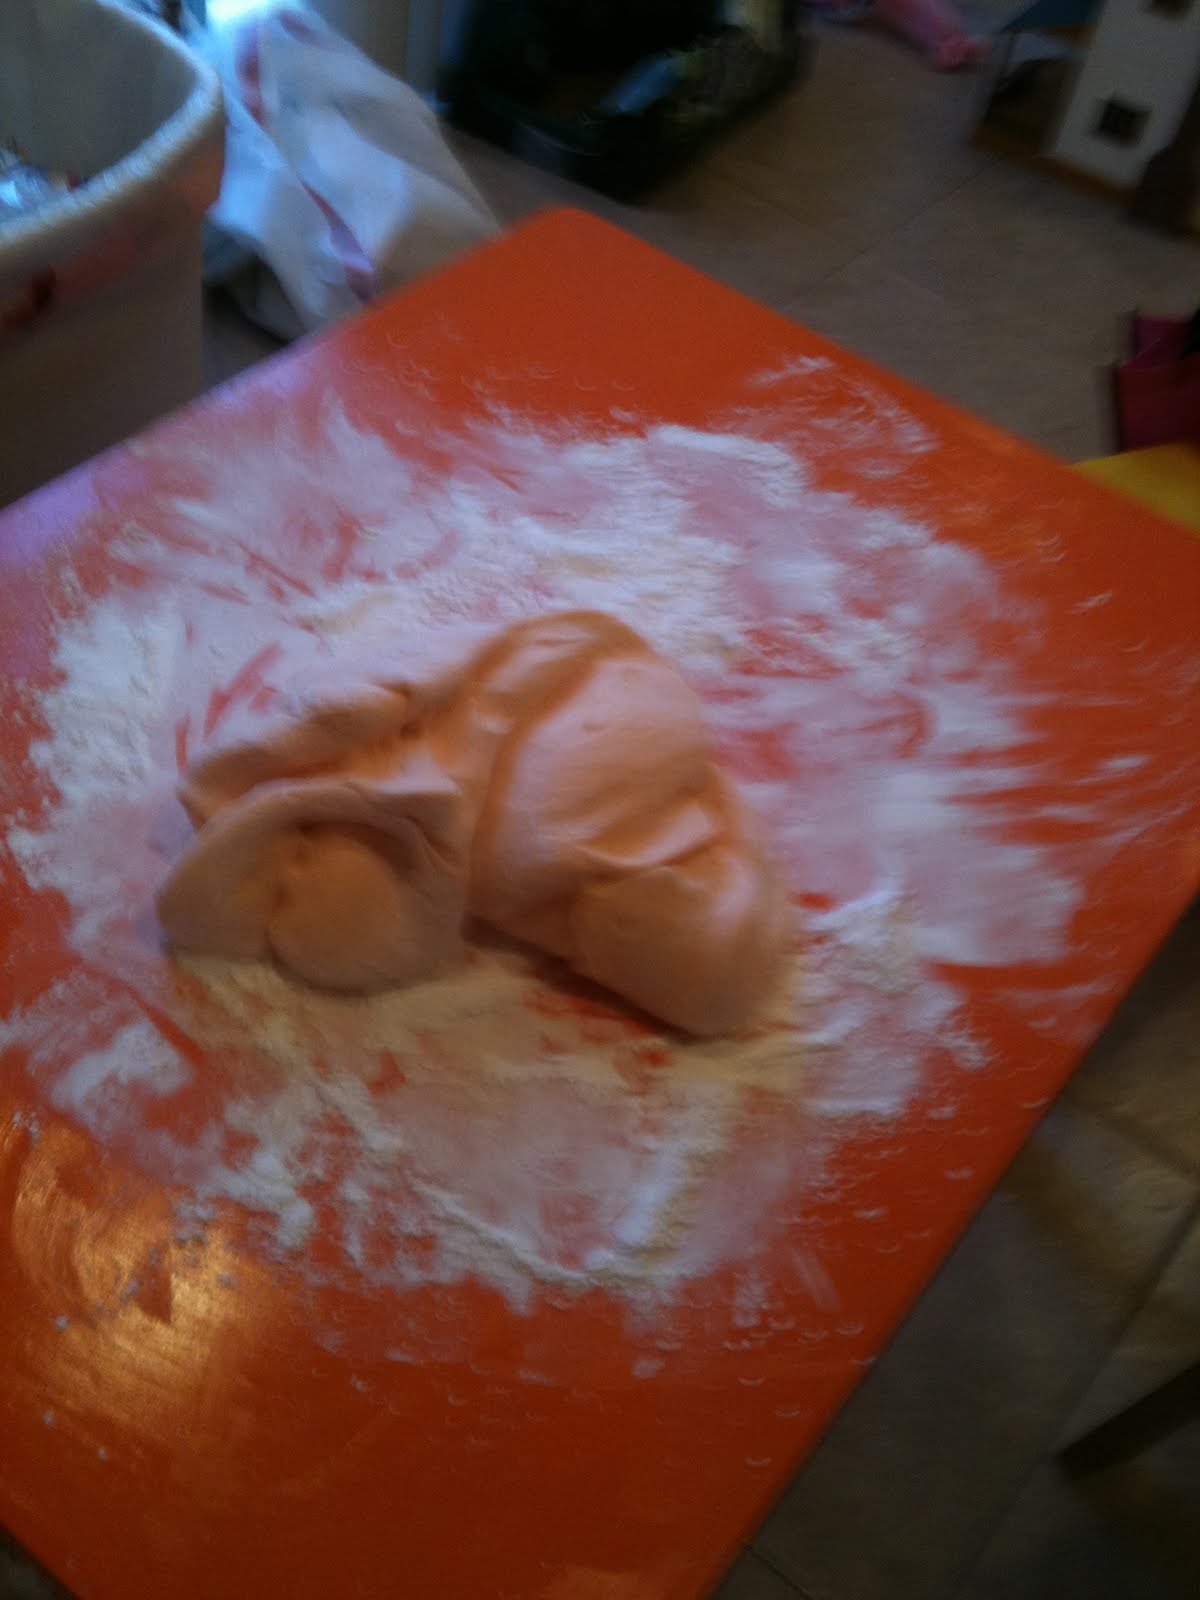 |
| Blurry pic of fondant process – powdered sugar EVERYWHERE! |
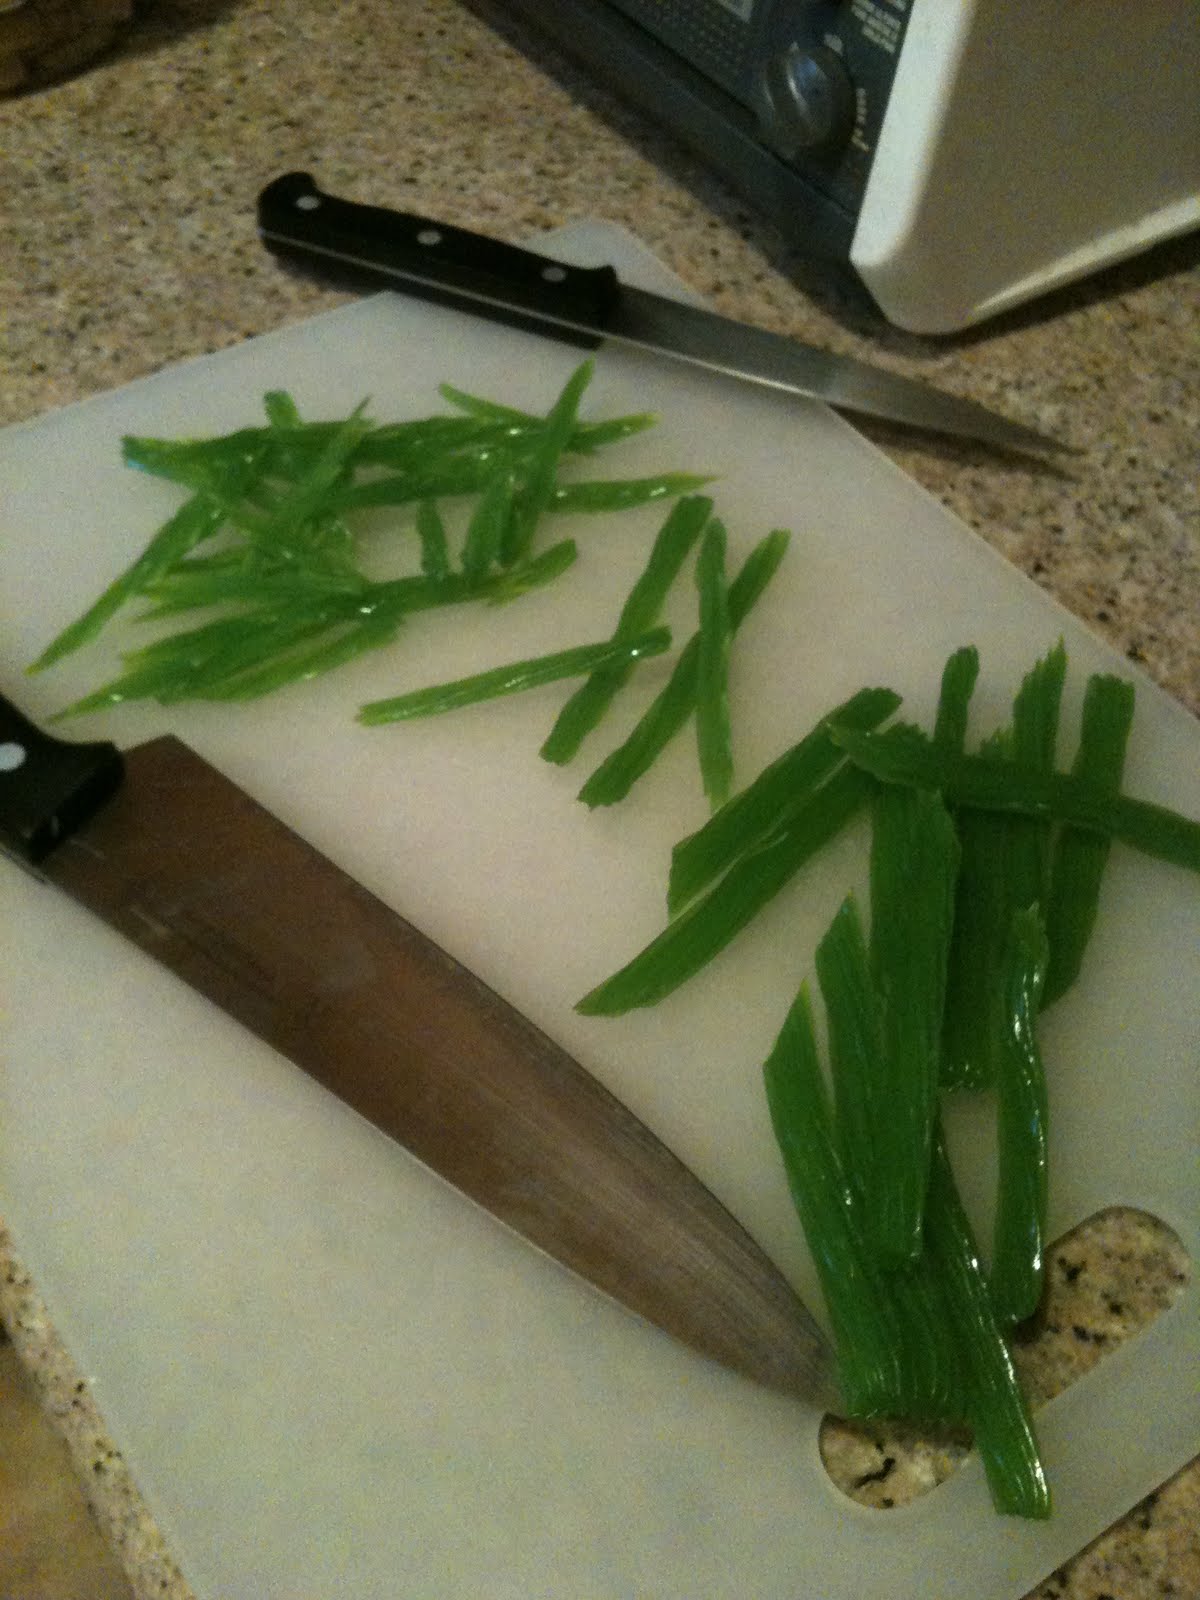 |
| Making grass from green apple licorice |
 |
||
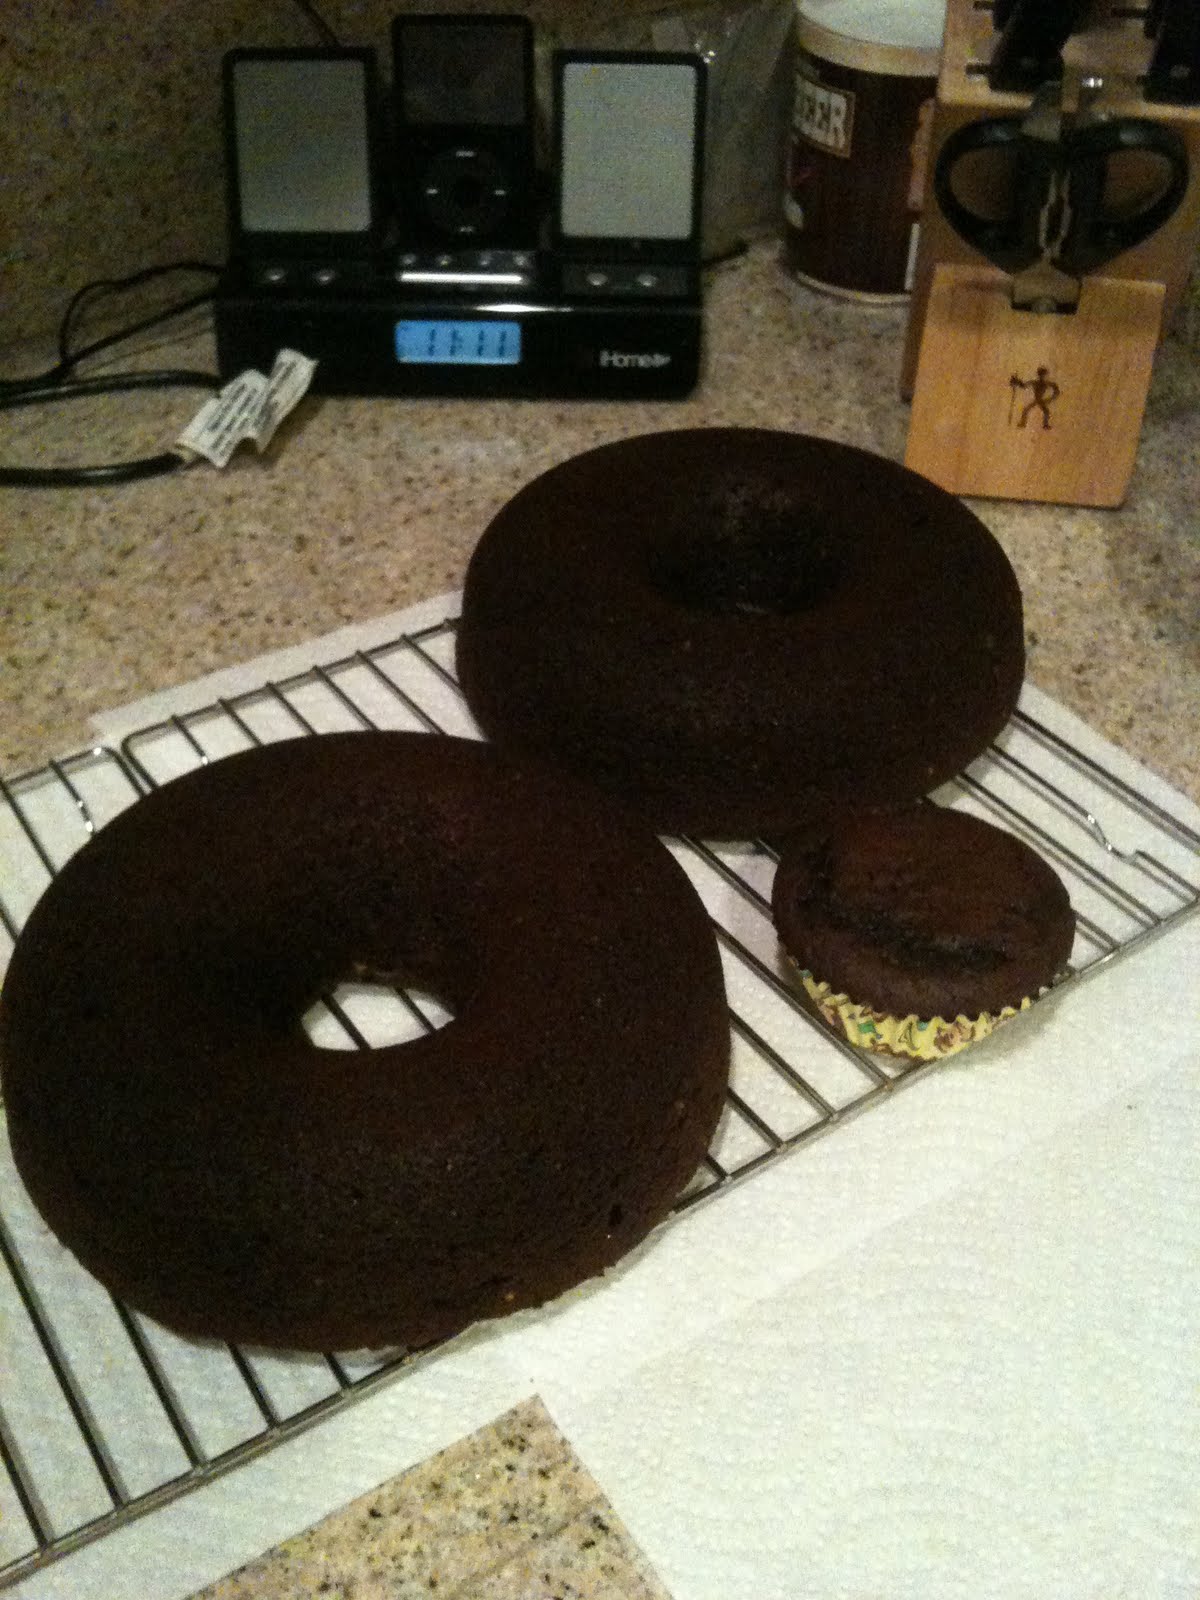
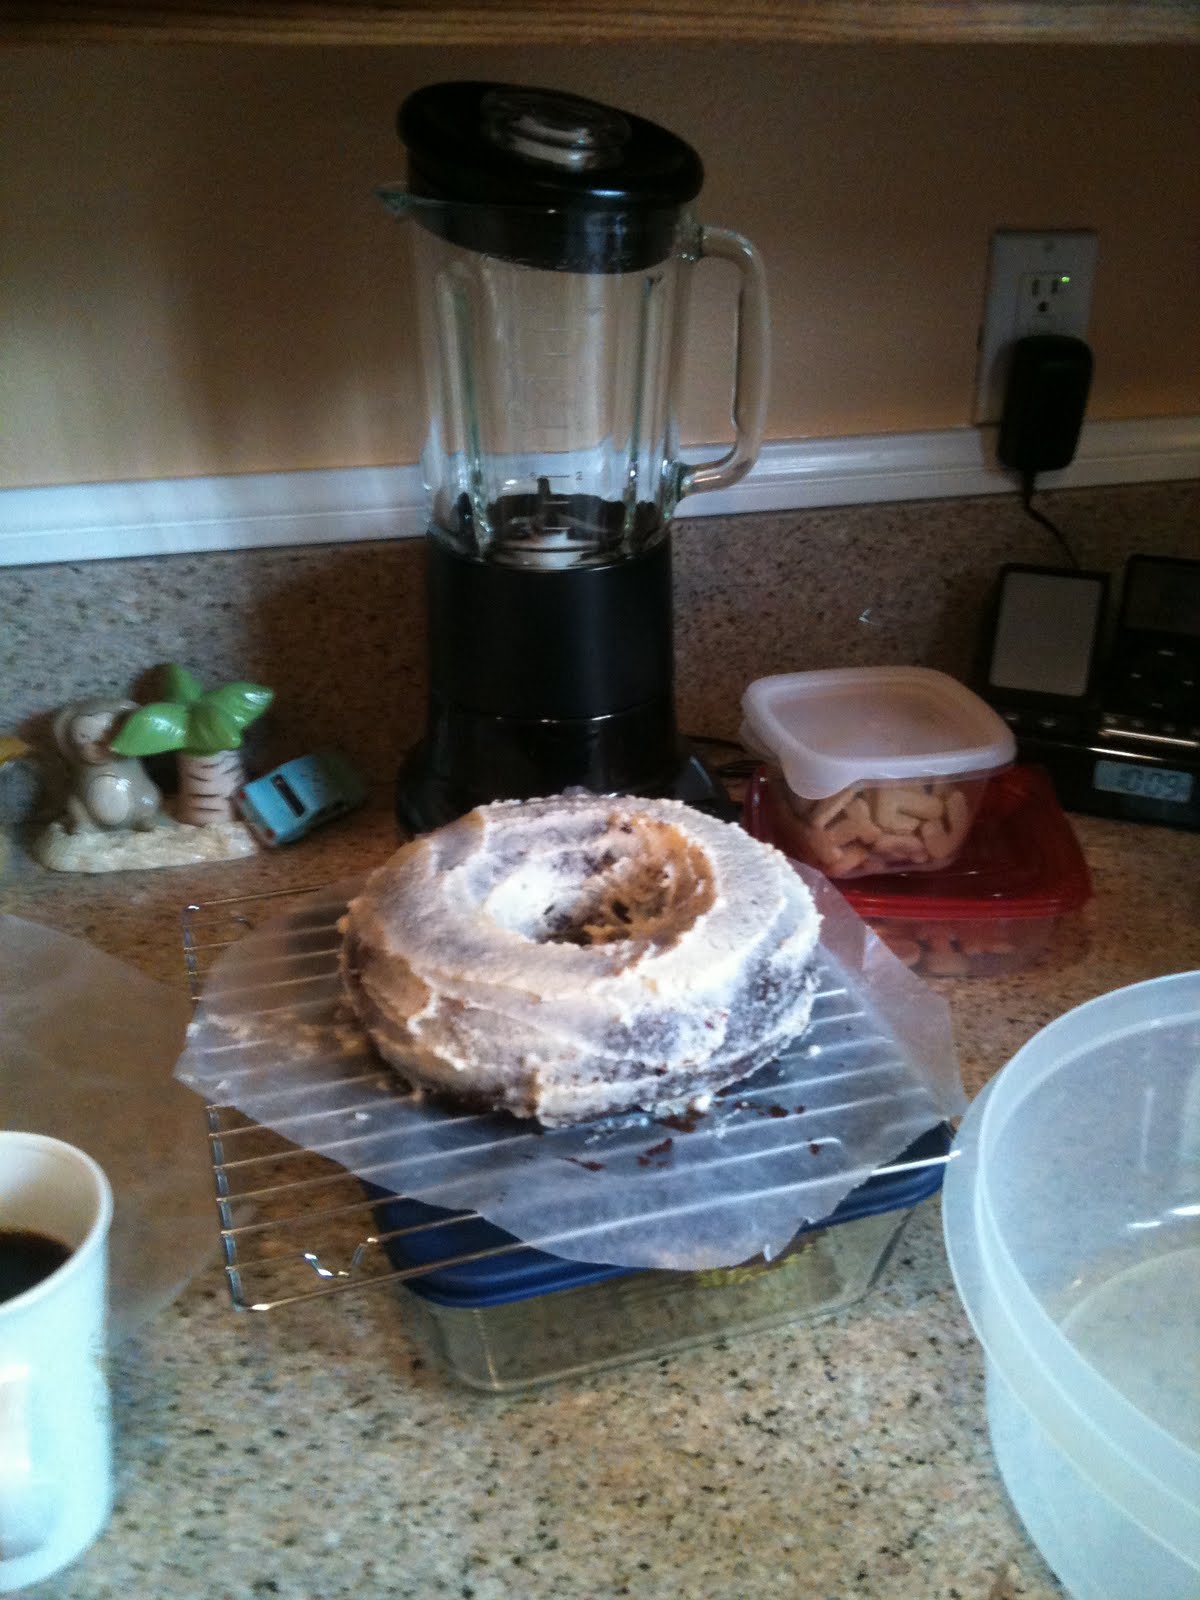
| Buttercream icing for the crumb coating/fondant adhesive
– I baked the cakes on the 2nd night and cooled them, so I had 3 rings total. Also, a fun thing about this cake is you can make different flavors so I had a yellow cake ring and 2 chocolate cake rings.
– The 3rd morning, I did all the decoration assembly with lots of help from another 2 hands. It was at this point that I’m going to publicly admit that I almost threw the entire thing in the trash! It was 8:30am and Aubrey’s party was at 5:30pm. I didn’t like the way the cake baked and my buttercream was overthawed, I had no idea how to apply the fondant and I was pretty sure it was going to be a disaster. In a nutshell, I felt like I was on one of those cake war shows. STRESS! But I pulled myself together and made it work. Thus the PHEW in the title of this post. |
 |
| Iced the top ring in buttercream |
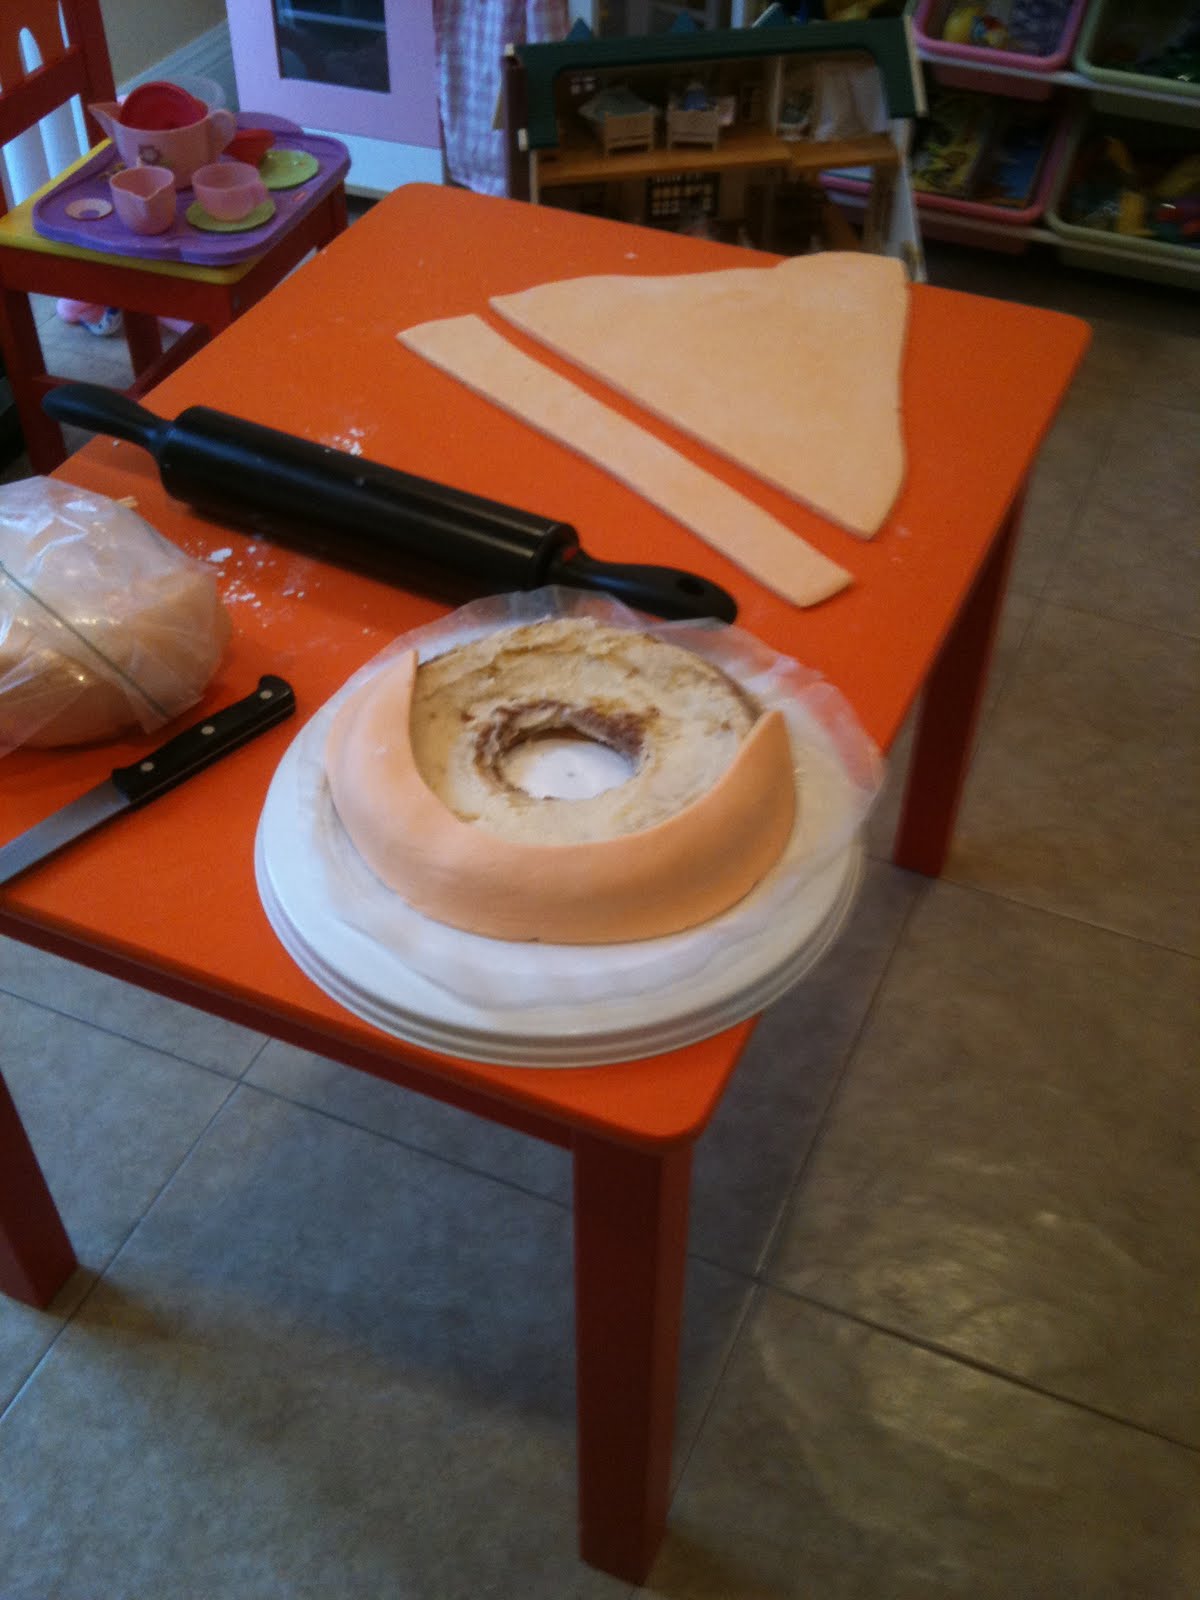 |
||
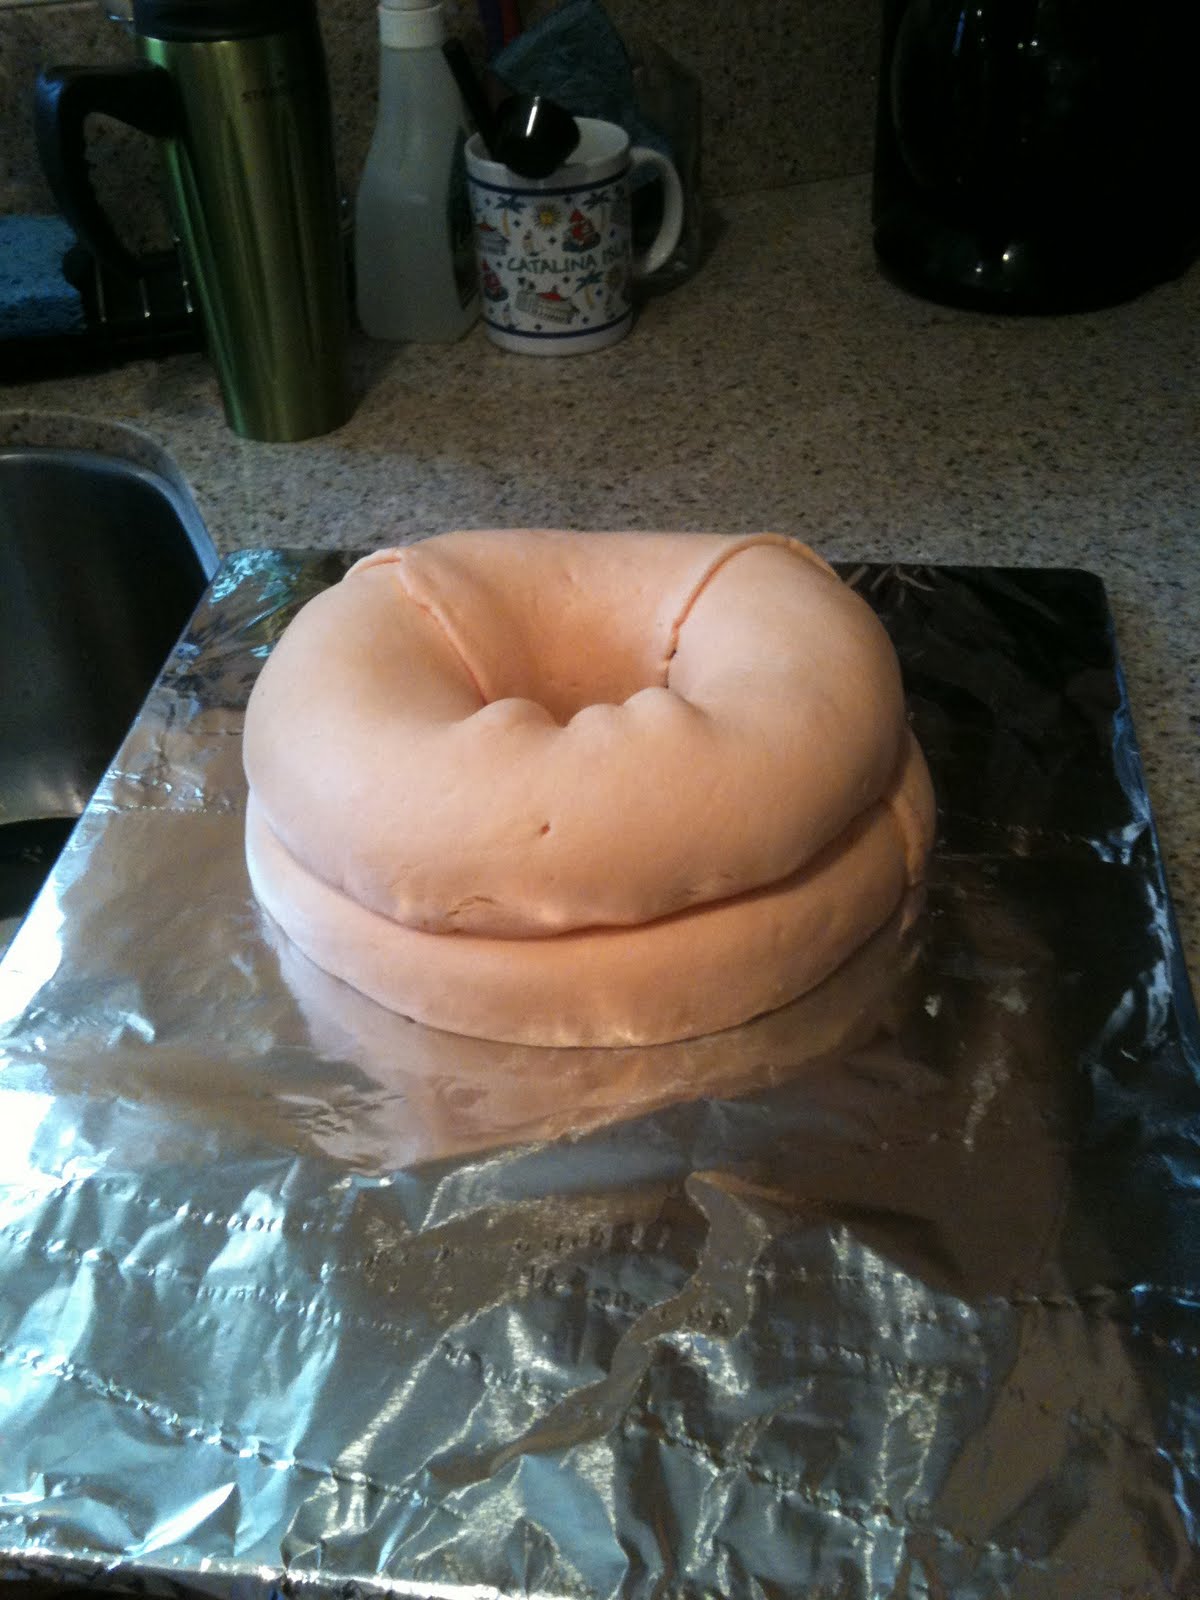
Applying fondant to the bottom coil
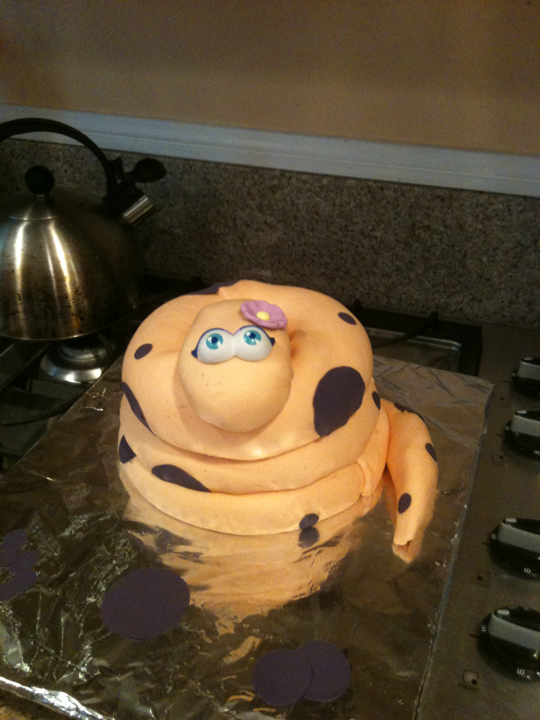
Once I had the 3 coils covered in fondant and stacked up, I did the tail – wrapped in one piece and then tucked the end of the fondant underneath the bottom ring, molded it with my hands to sit near the body. And then the head. OH MY GOD! The head was tricky and all I can say is it took me a long time to gently stretch the fondant, trim it with kitchen scissors and tuck the bottom seam and edges in a way that wasn’t too bulky and could be hidden along the bottom of the piece. I pinched the fondant at the end of the neck and tucked the piece into the center of the coils to have her peeking out, head resting on the top coil. |
 |
| Oooh! She finally looks like a snake! |
 |
| Mrs Potato Head’s Eyes! |
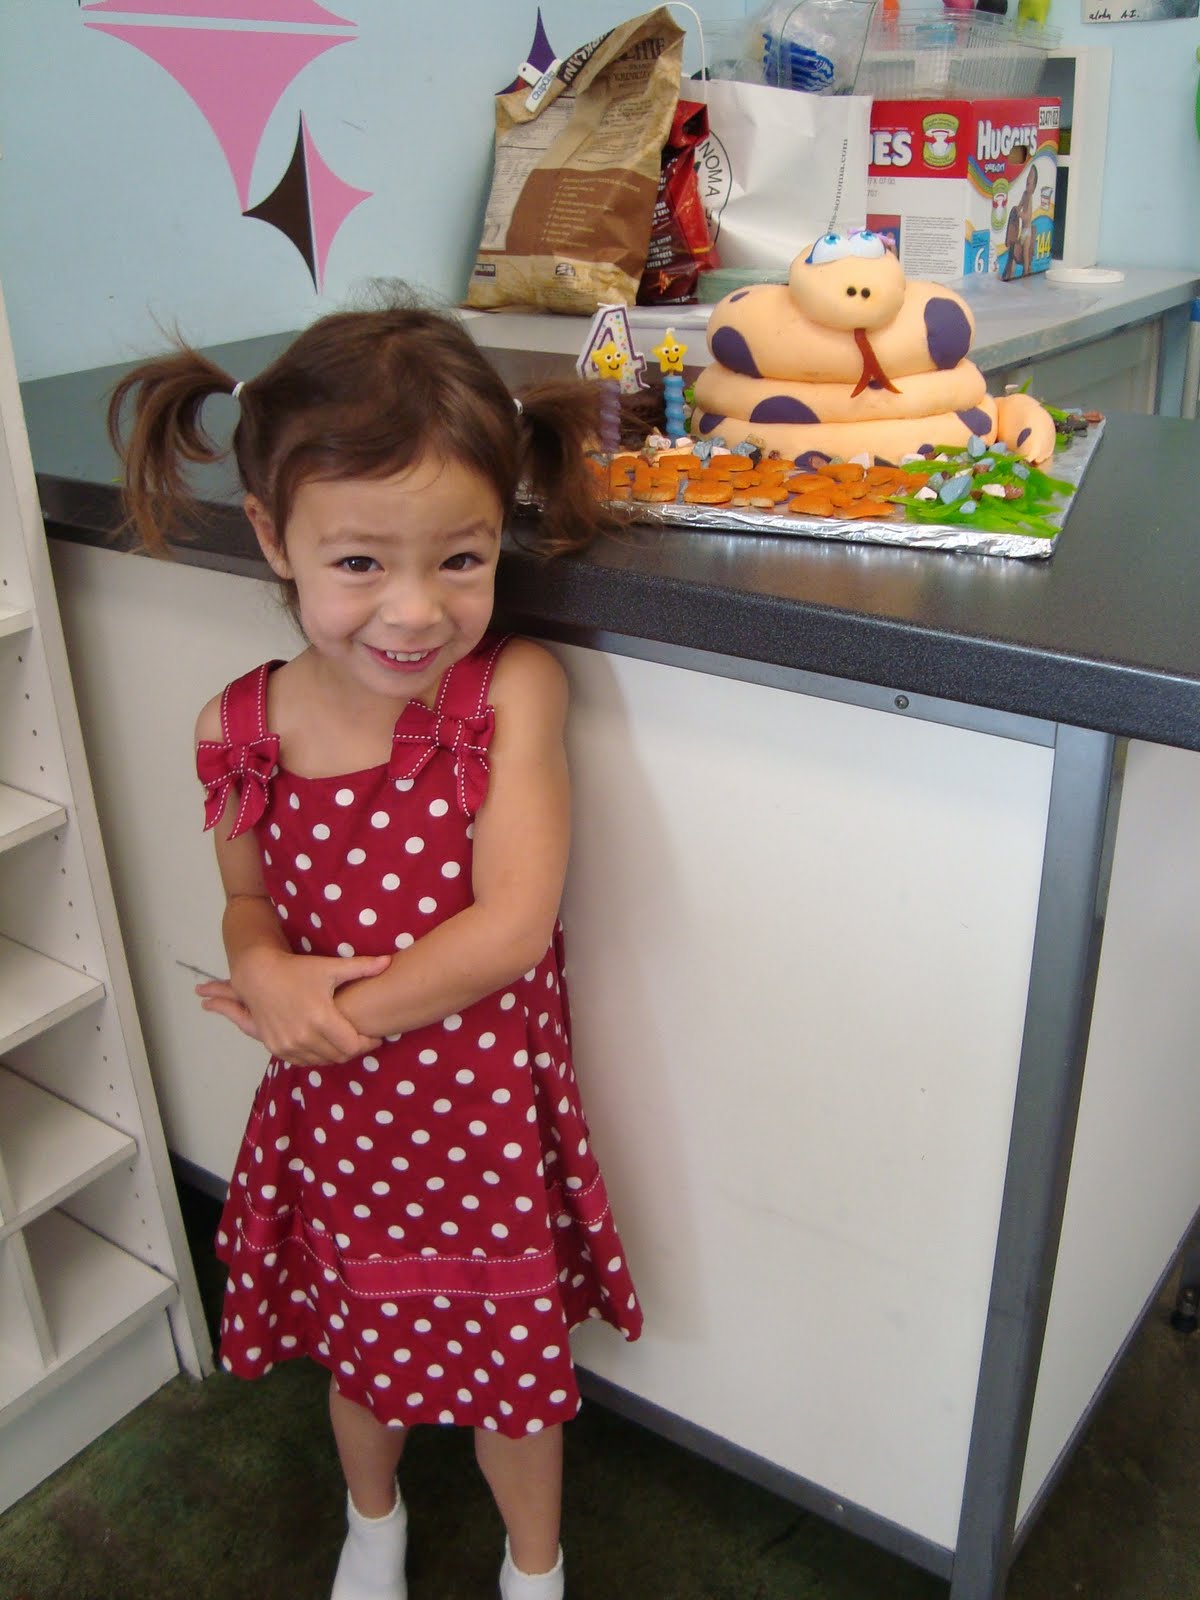 |
The birthday girl and her snake cake!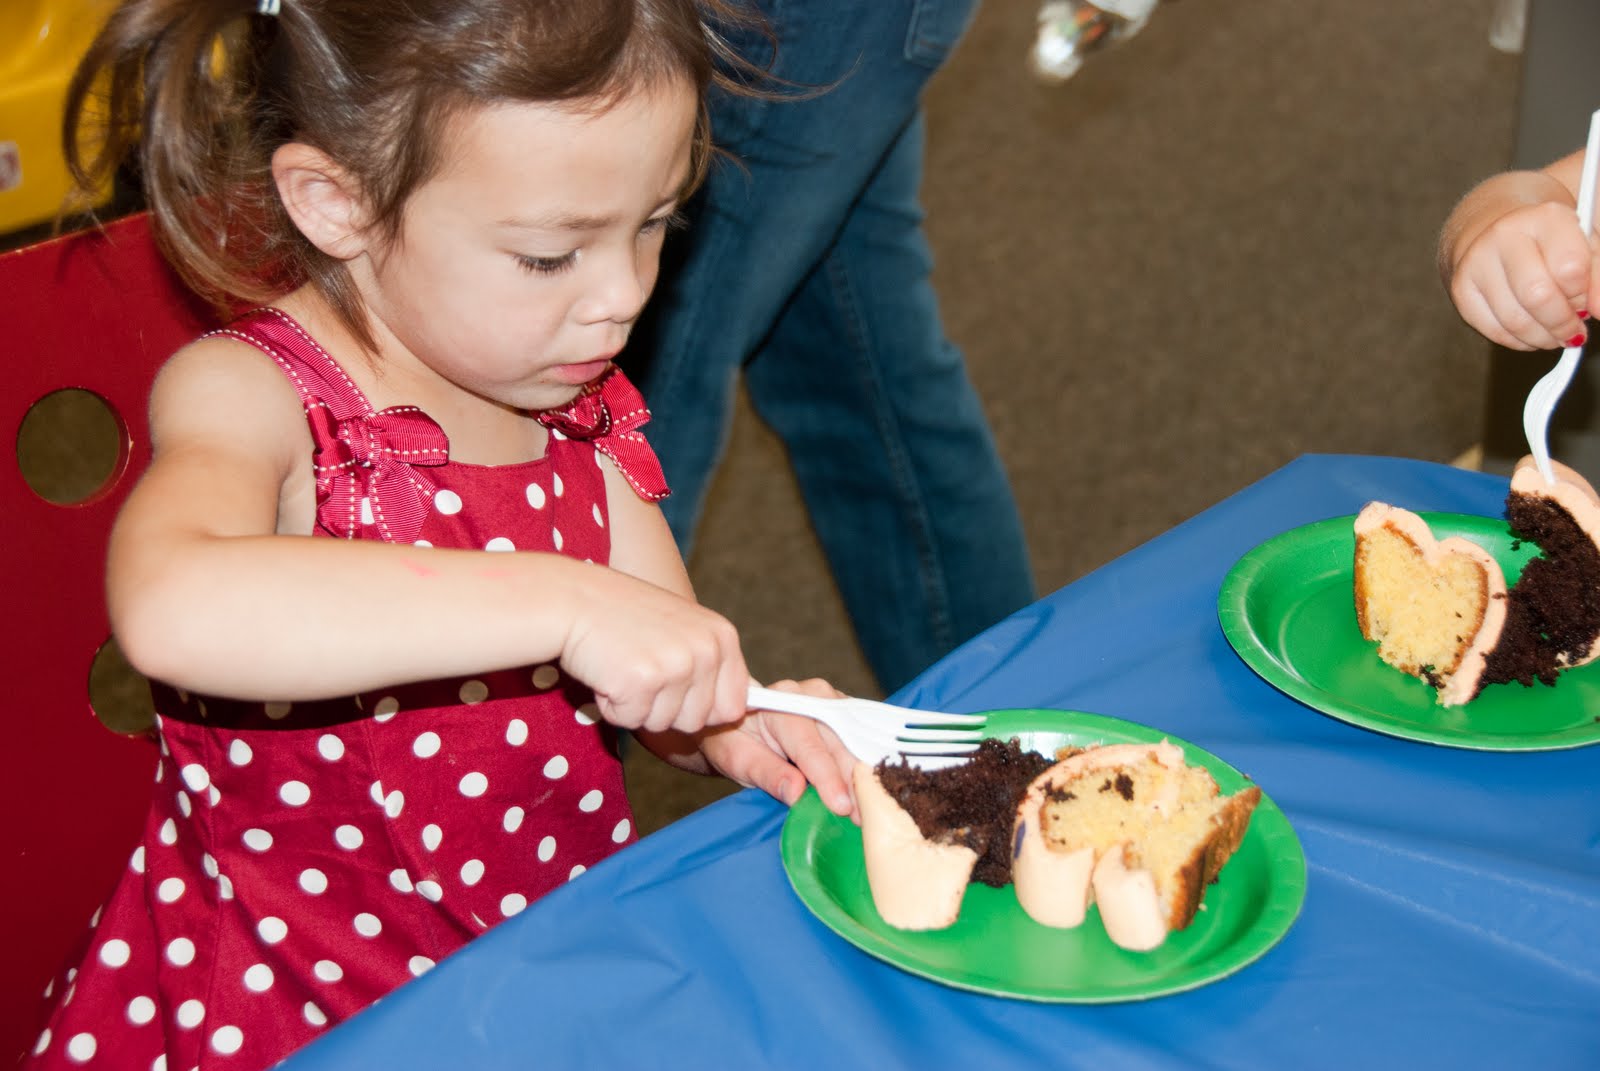 |
 |
| Sad… |
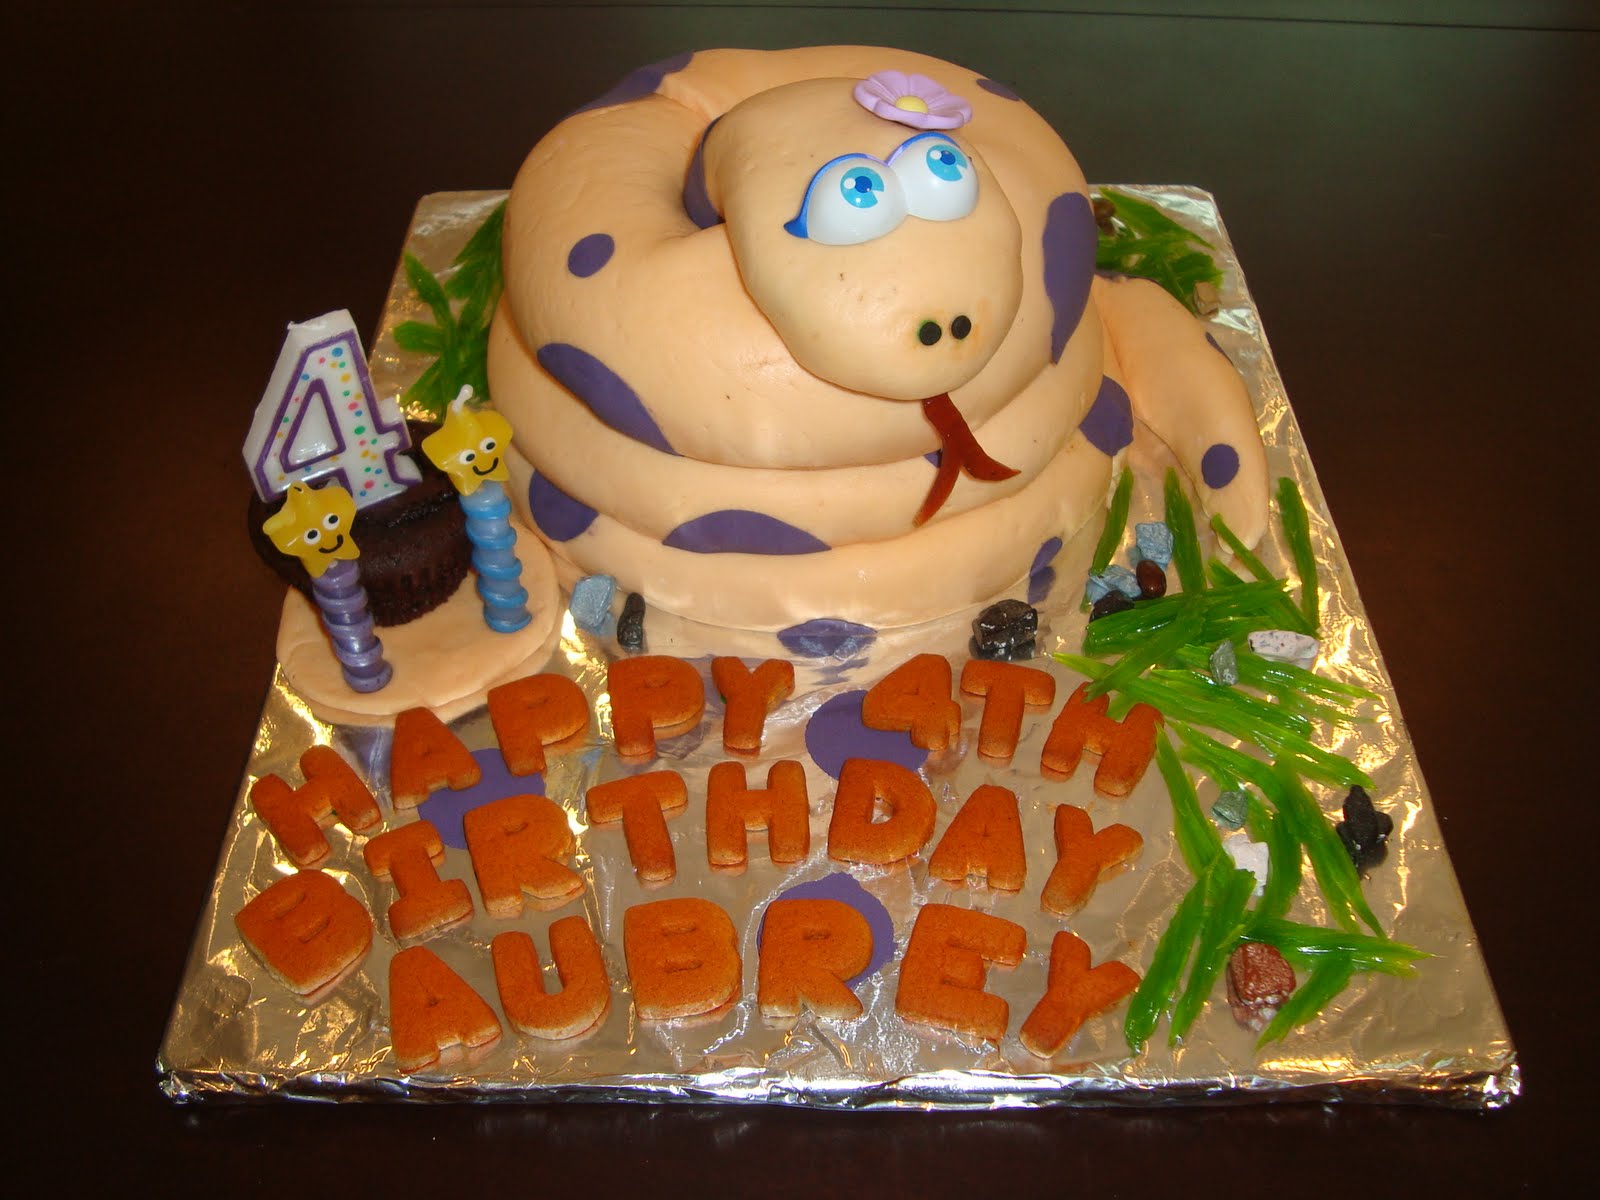 |
| Finished Snake Cake! |
And that’s my Cute Girl Snake Cake! I hope she inspires you and good luck if you try it.
![]()
3 Comments - Leave a Comment »
Tags: Amy Anderson • Aubrey • birthday • birthday cakes • birthday party • cake decorating • cake making • fondant • snake cake • snakes
07
Jun, 2011
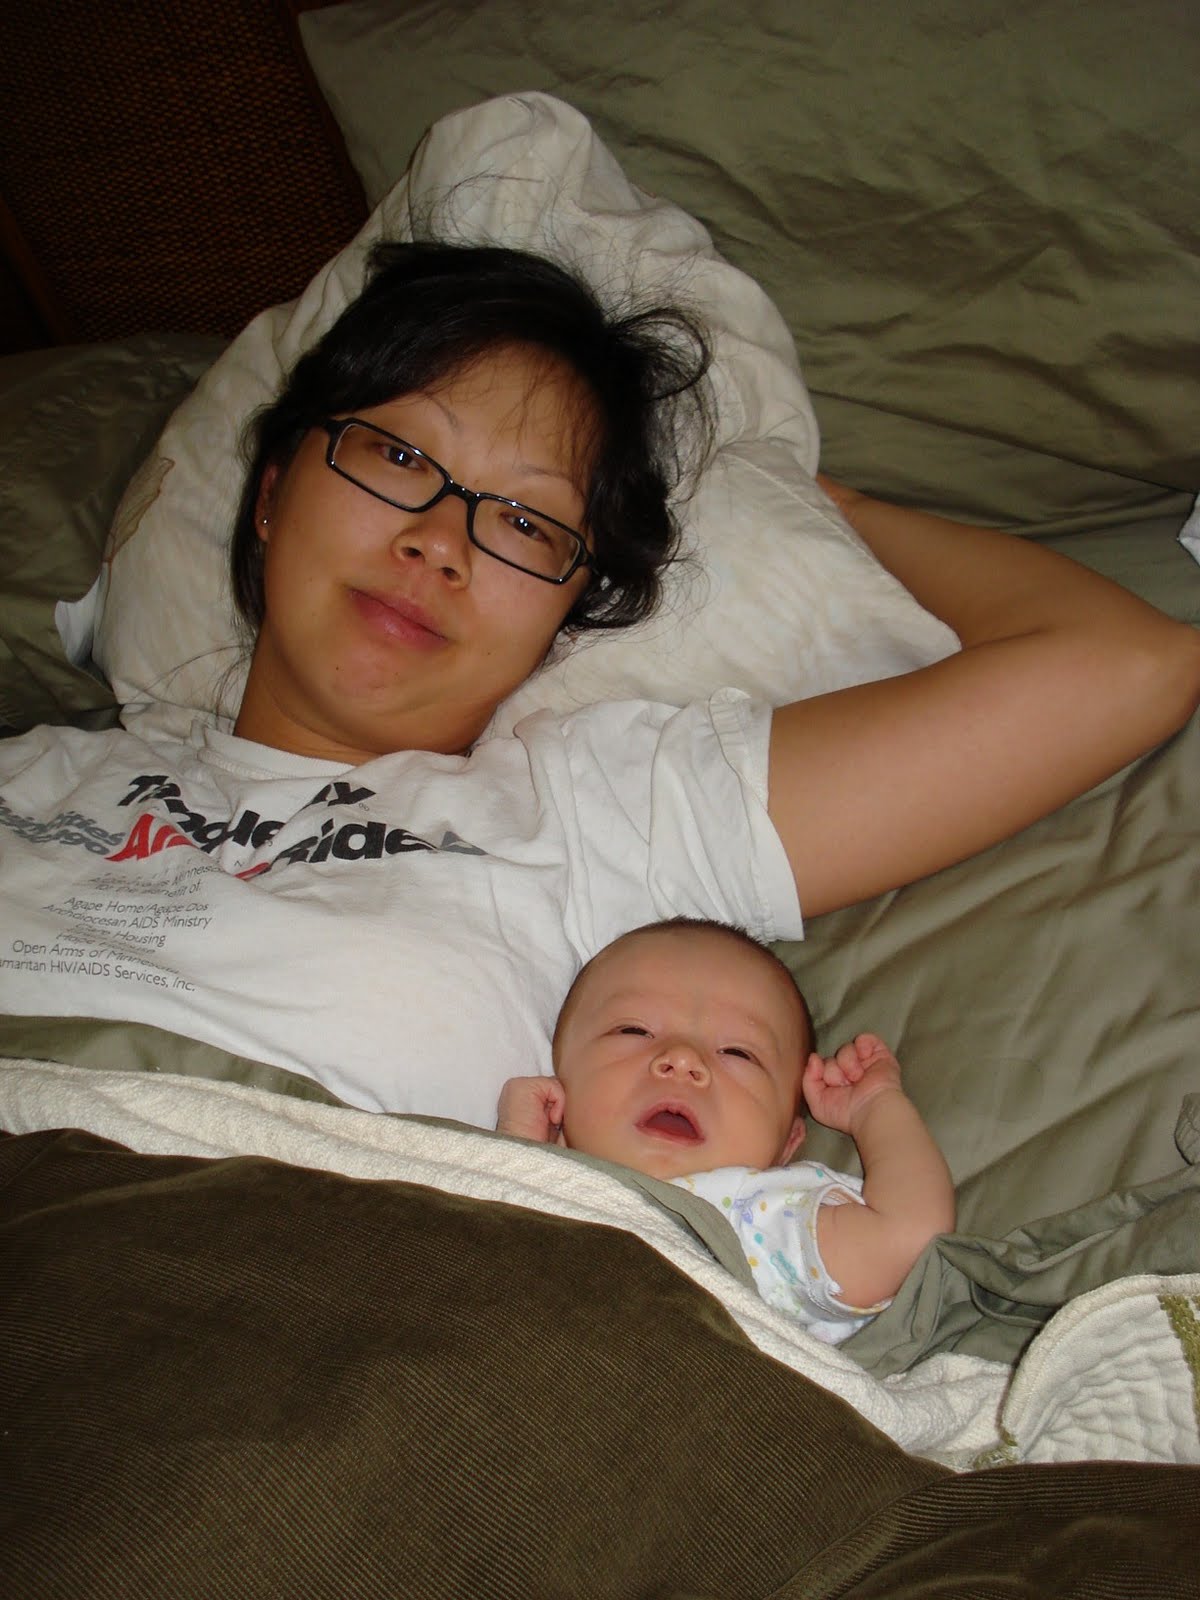
It happened last night, four years ago at 11:13pm PST. My little turkey girl, Aubrey Frances, made her grand entrance into the world (in Santa Monica nonetheless – no wonder she loves the beach so much) after 26 hours of labor. Many moms, and dads, will tell you it was the happiest moment of their lives. Sadly for me… not so much.
Yes, I said it. I admit it. I’ll say it again. I wasn’t excited about becoming a mother. My pregnancy was not planned and my relationship was already on the rocks. But there I was, pregnant for the first time in my life at 34. I considered my age and my relationship status and decided to give it – the baby and the relationship – the good old college try out of fear that this may be my only opportunity to have a child. Even if I had chosen not to have the baby and broke up with my boyfriend, who knows if I would ever meet someone within my childbearing years that I wanted to reproduce with. I felt it could be now or never.
Also, I was really into my career. A career in an industry that does not favor women and really does not favor women with children. A career that I had been building for over 10 years at that point and I was finally starting to get some recognition in Hollywood. I was just chosen for the CBS Diversity Comedy Showcase and was headlining colleges across the country. The timing felt all wrong on so many levels and the stress of it all really took its toll on me.
When Aubrey was born, I did not cry. I did not feel joy or happiness. I was numb. I was angry. So depressed from my dysfunctional relationship, that I couldn’t savor that sweet moment. This is probably the most painful truth of my life as a mother and I hate that I will never get that moment back. There’s no do-over or rewind. But I’ve spent the last four years learning to forgive and let go and for me, motherhood has been a process, a journey.
After two months of post partum depression and escalating fights with my boyfriend, the dark clouds gradually lifted and I went into survival mode. I gave the relationship one last shot – talking him into couples therapy. When he stopped going with me after about three sessions, I decided to continue on my own and by the time Aubrey was around seven months, I decided to leave the relationship and become a single mom.
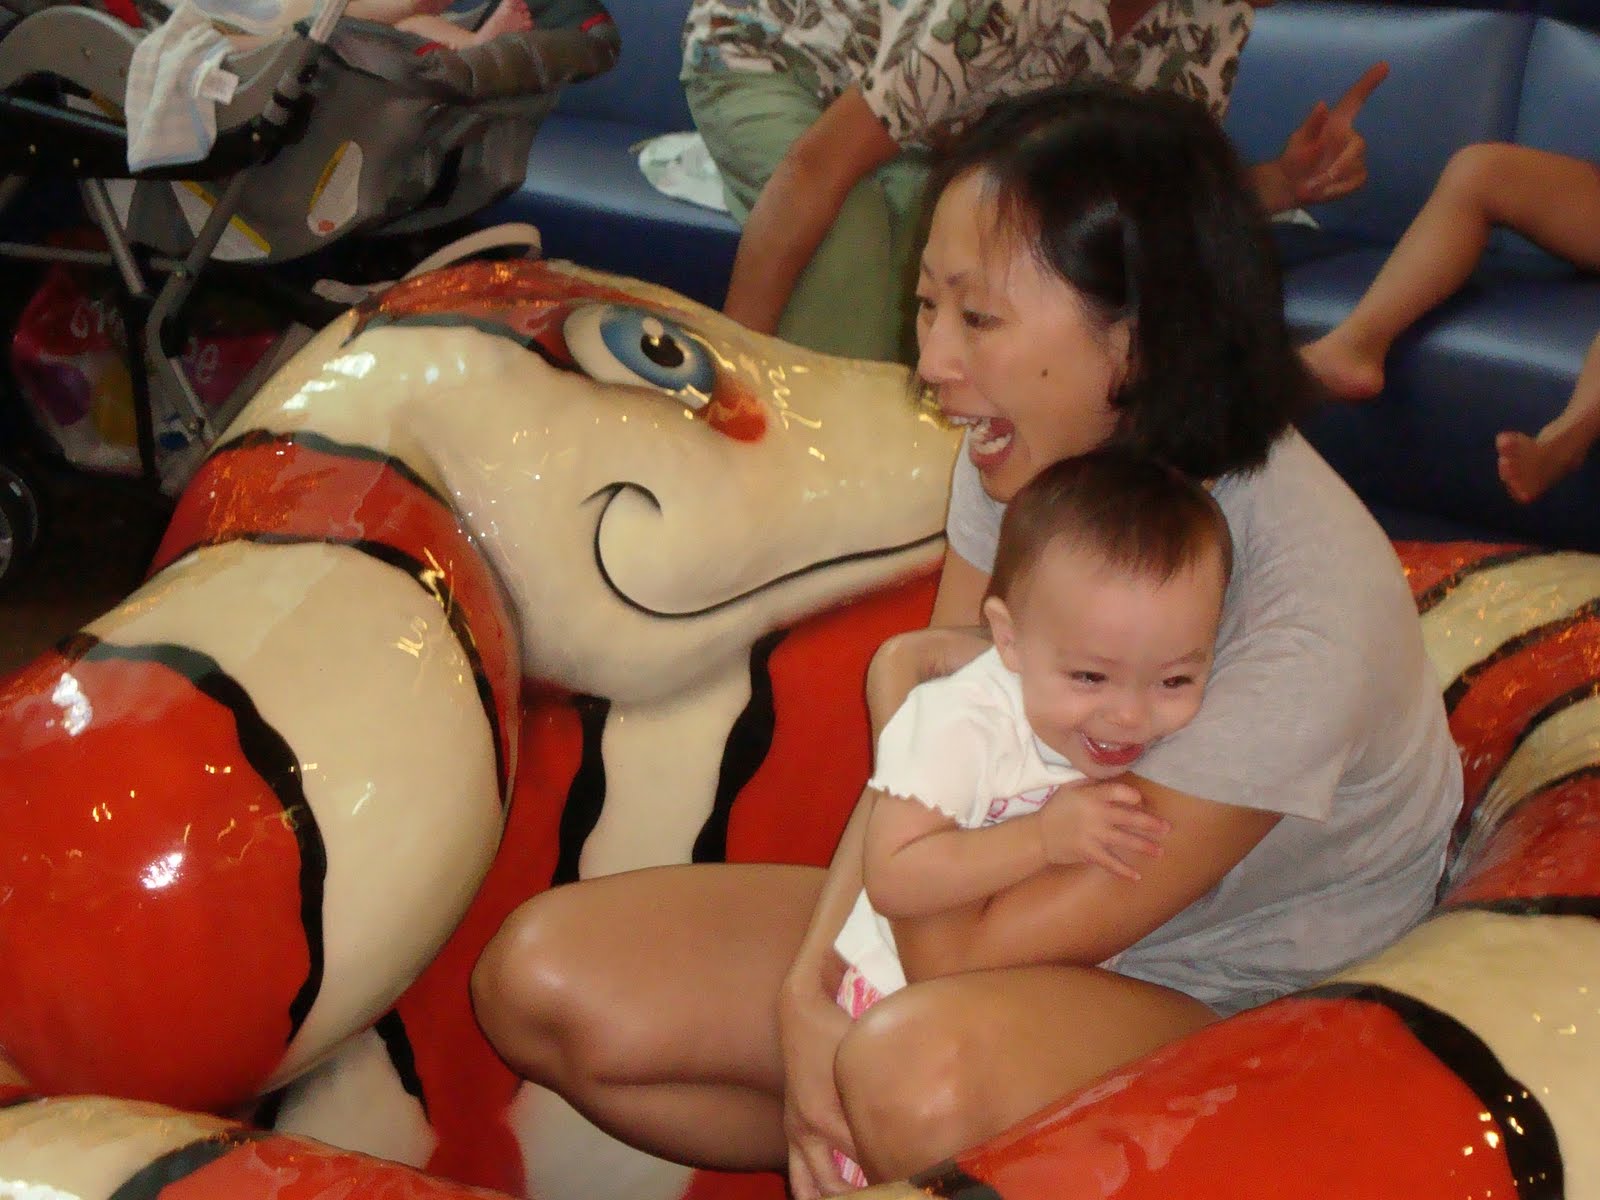
It was the hardest time of my life – moving out, finding a new home, legal proceedings for the custody agreement, re-establishing my career, all with an infant in tow – but it was during this period that I found myself again and began to truly love my daughter. Of course I loved her from the beginning, but it wasn’t until I started to shed the toxic elements of my life that I was able to really fall IN love with her and I can honestly say I have loved her more and more each day.
Having a baby was not in my plans and whether or not the decision to move forward with motherhood was for the right reasons, I guess is completely subjective. Even now, four years later, I can’t say that I made the “right” decision or the “best” decision, but I do know this for sure: I love my daughter more than anything in the world and I never want to live a day on this earth without her in it.

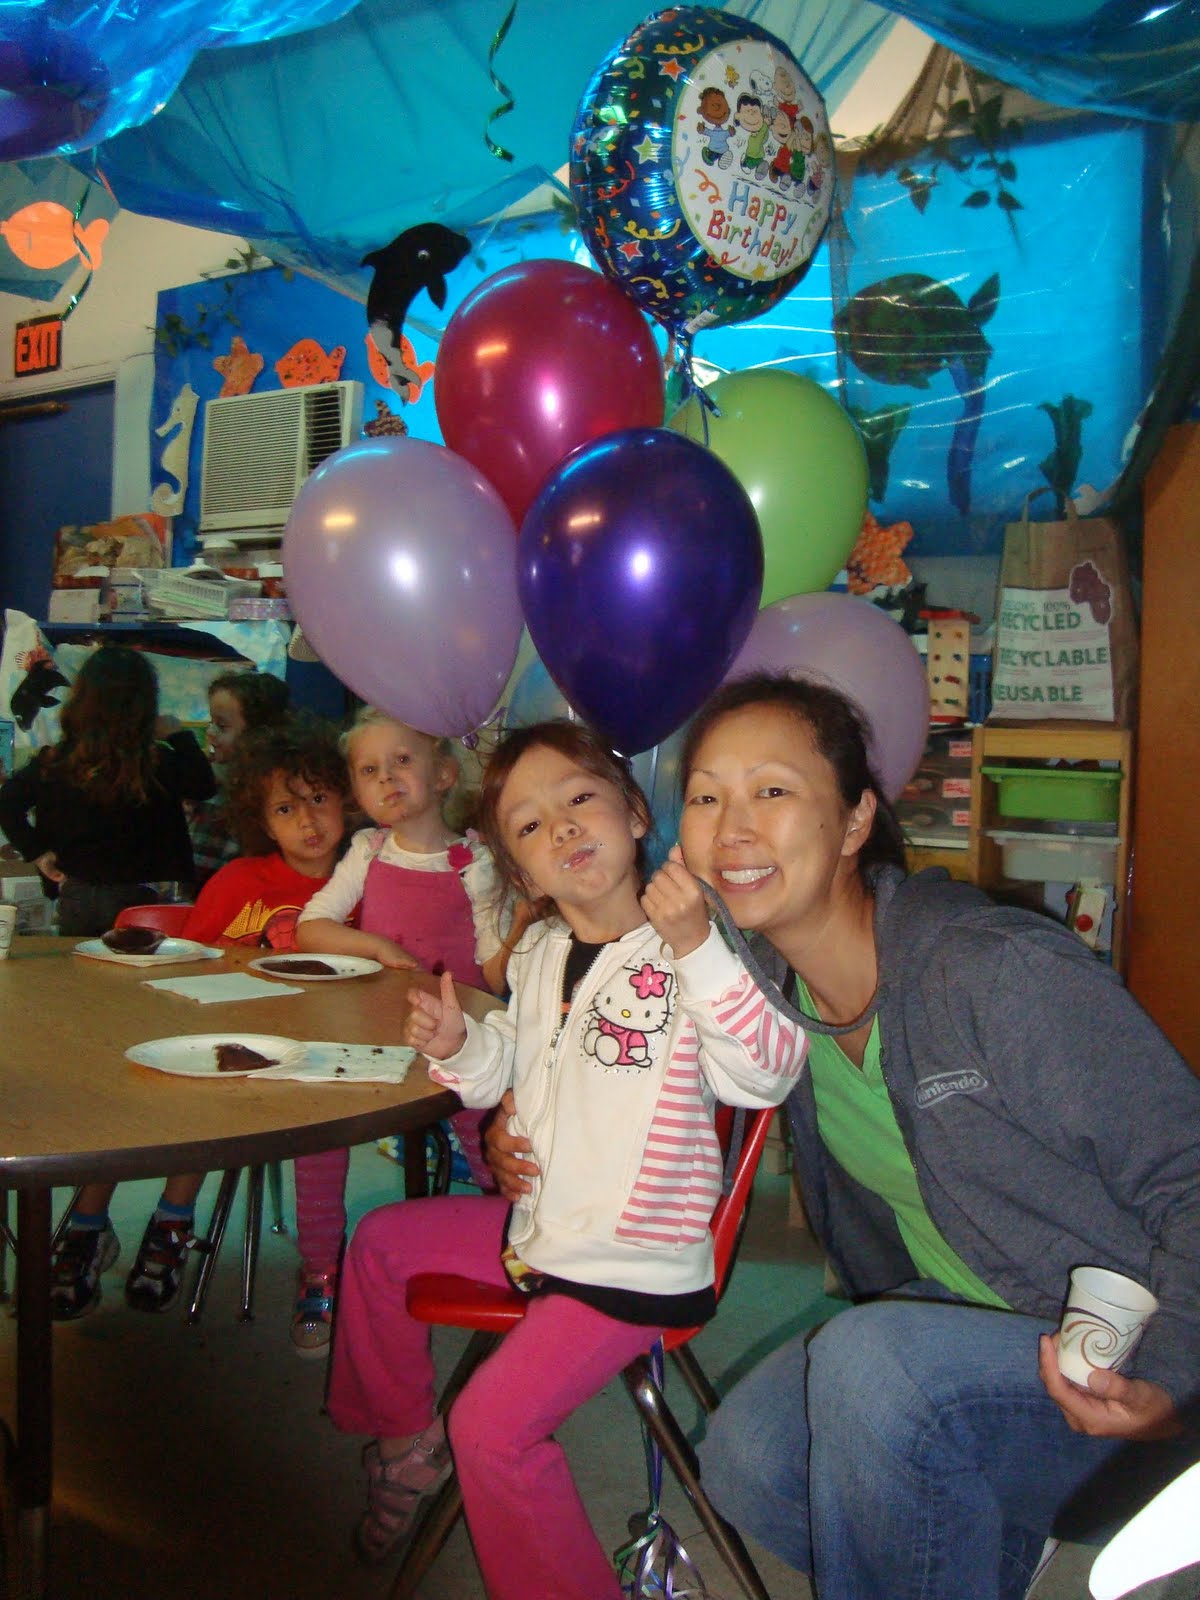
So this week is a celebration of her fourth year of life! For her, it’s a non-stop party week. Since she has two homes, she gets double the gifts and double the parties spread out over several days with the back and forth. (There are some good things about having separated/divorced parents.) She is having a blast and I hope I am creating some wonderful memories for her. For me, this week is a celebration of the gifts she has given me and the lessons she has taught me. A reflection on how far we’ve come and excitement for what our futures hold. Thank you, my little Aubrey, for showing me what it truly means to love and be loved. Happy birthday to you!
![]()
11 Comments - Leave a Comment »
Tags: Amy Anderson • birthday • motherhood